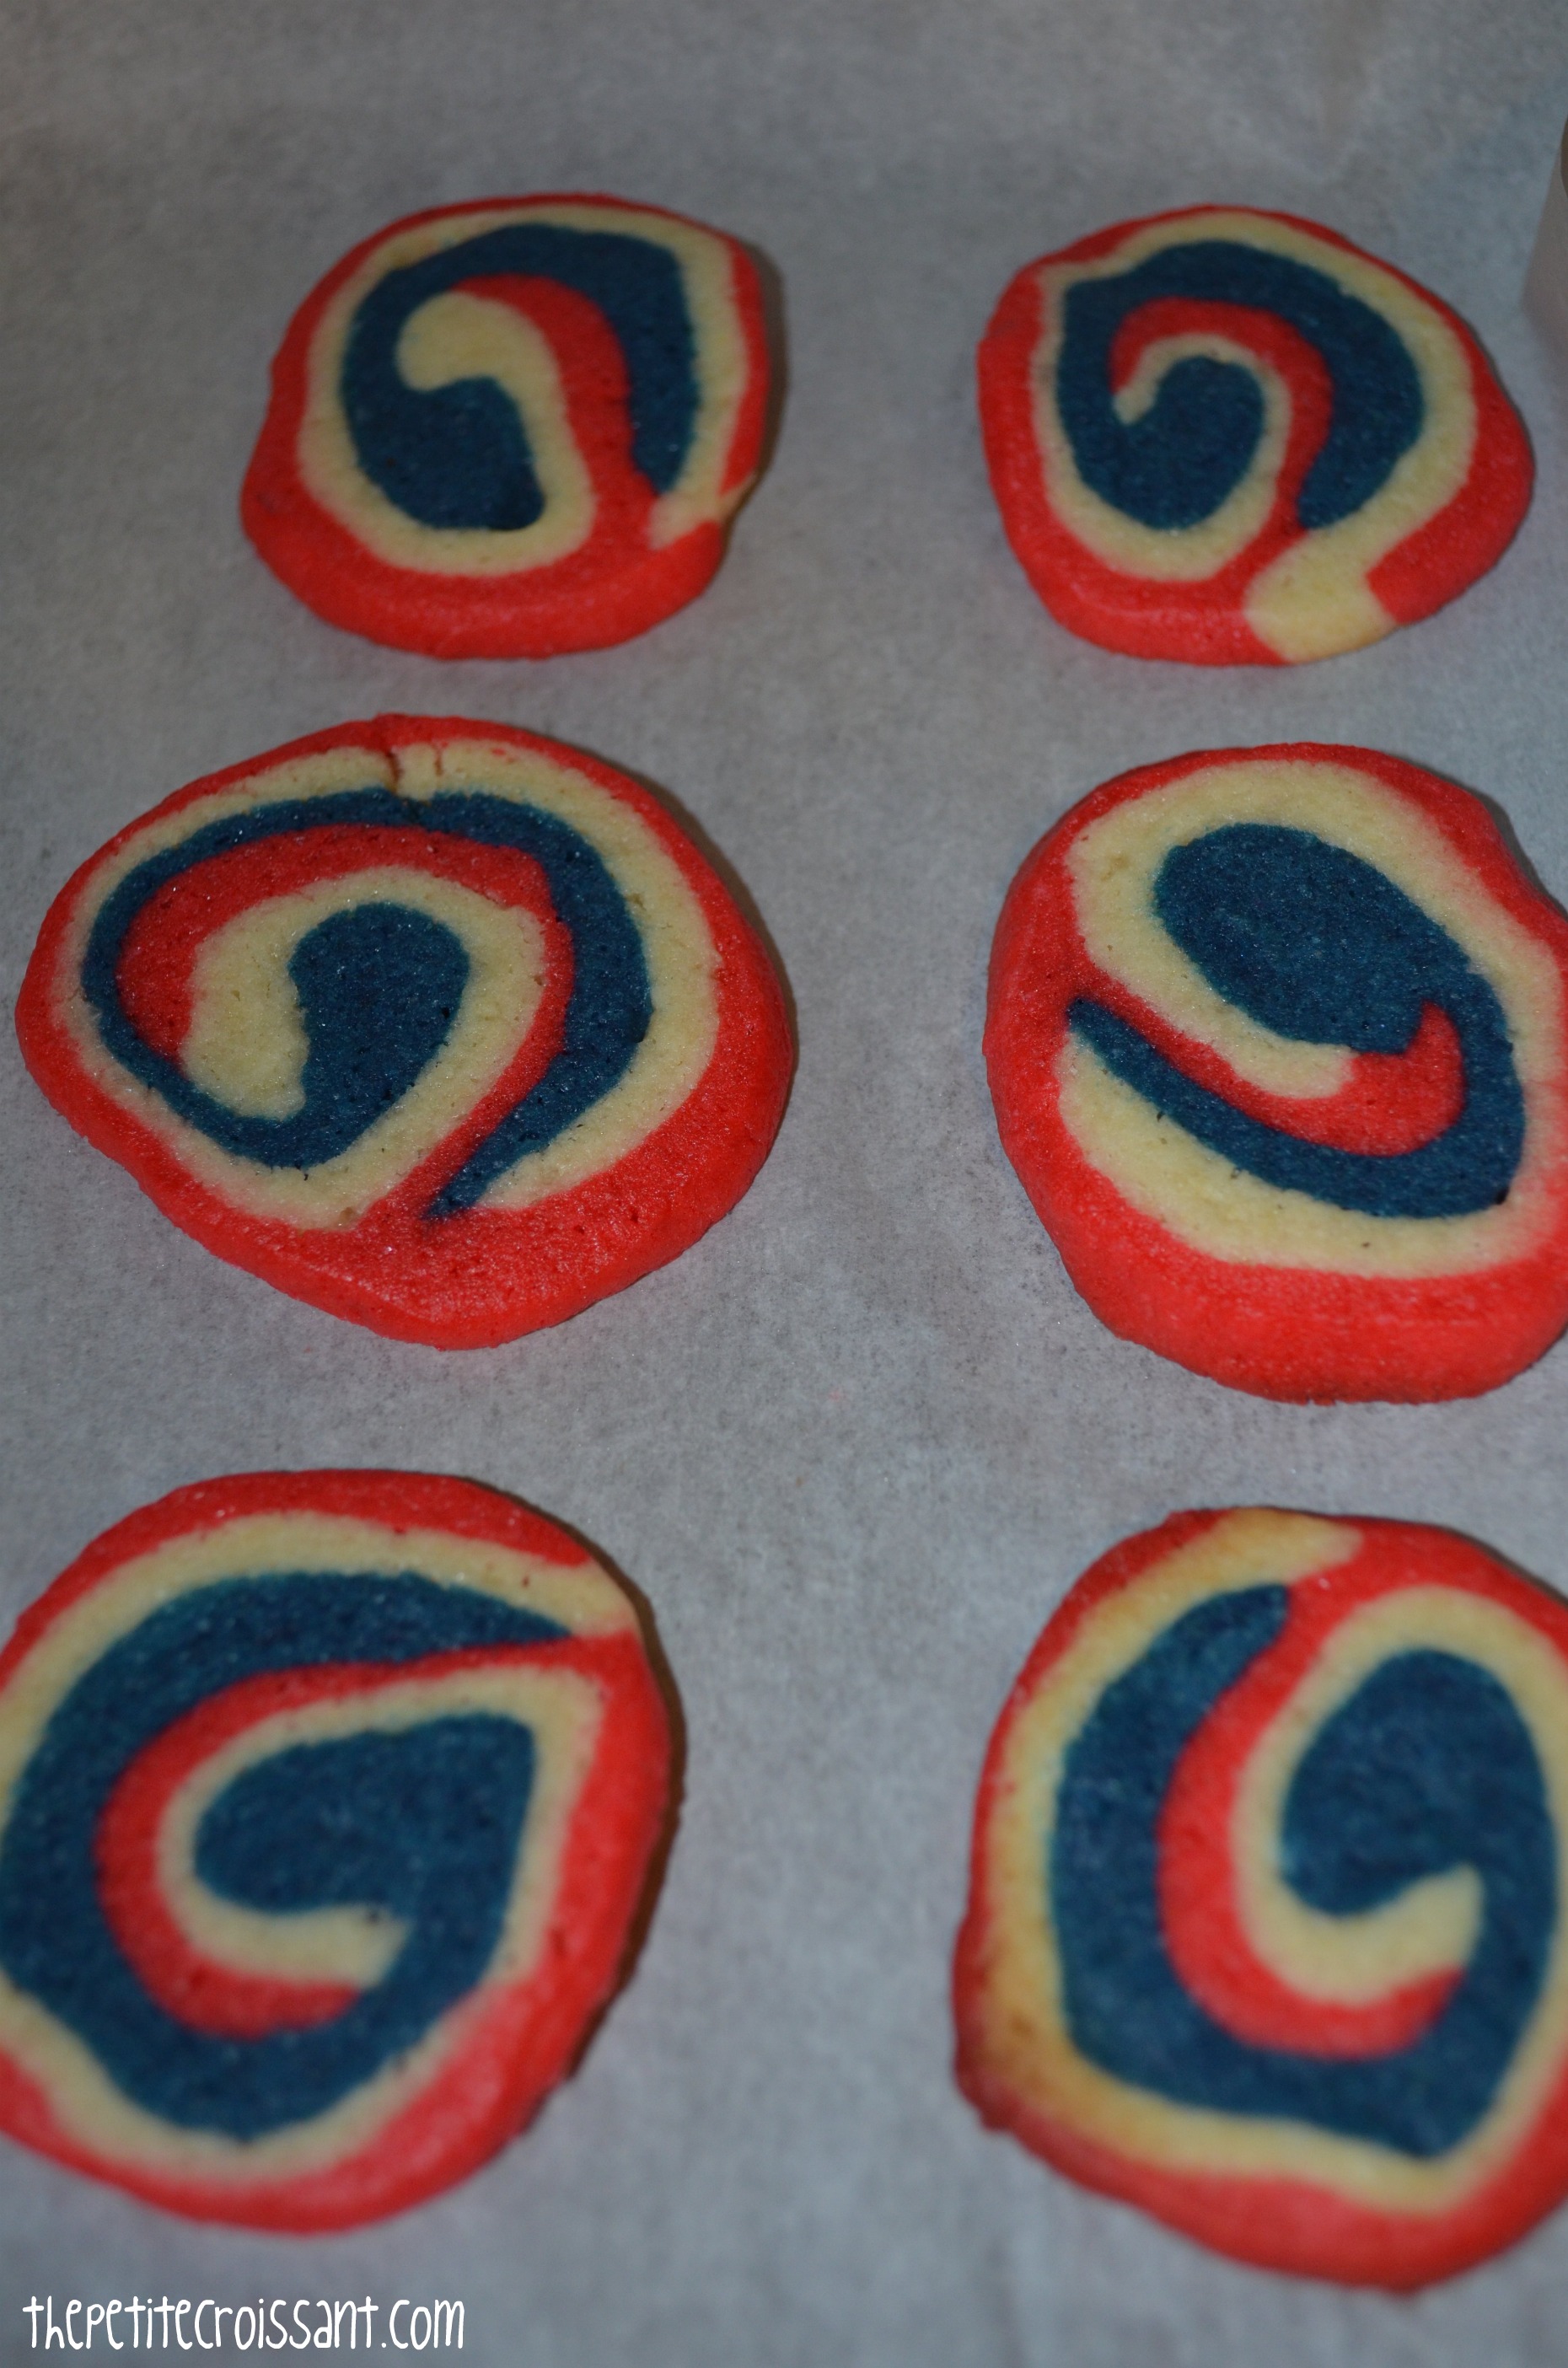
I definitely get into the 4th of July spirit. I try to work red, white, and blue into my wardrobe, my apartment, and my food. Normally, I do the classic flag cake (made with strawberries and blueberries), but this year I decided to change it up with these cookies. They involve a few steps (aka you should make them the night before), but they look so cool that they are definitely worth the effort!

Recipe adapted form here.
Ingredients
3 cups flour
1/2 teaspoon baking powder
1/2 teaspoon salt
1 cup butter
1 1/3 cups sugar
2 eggs
2 teaspoons vanilla
Red food coloring
Blue food coloring
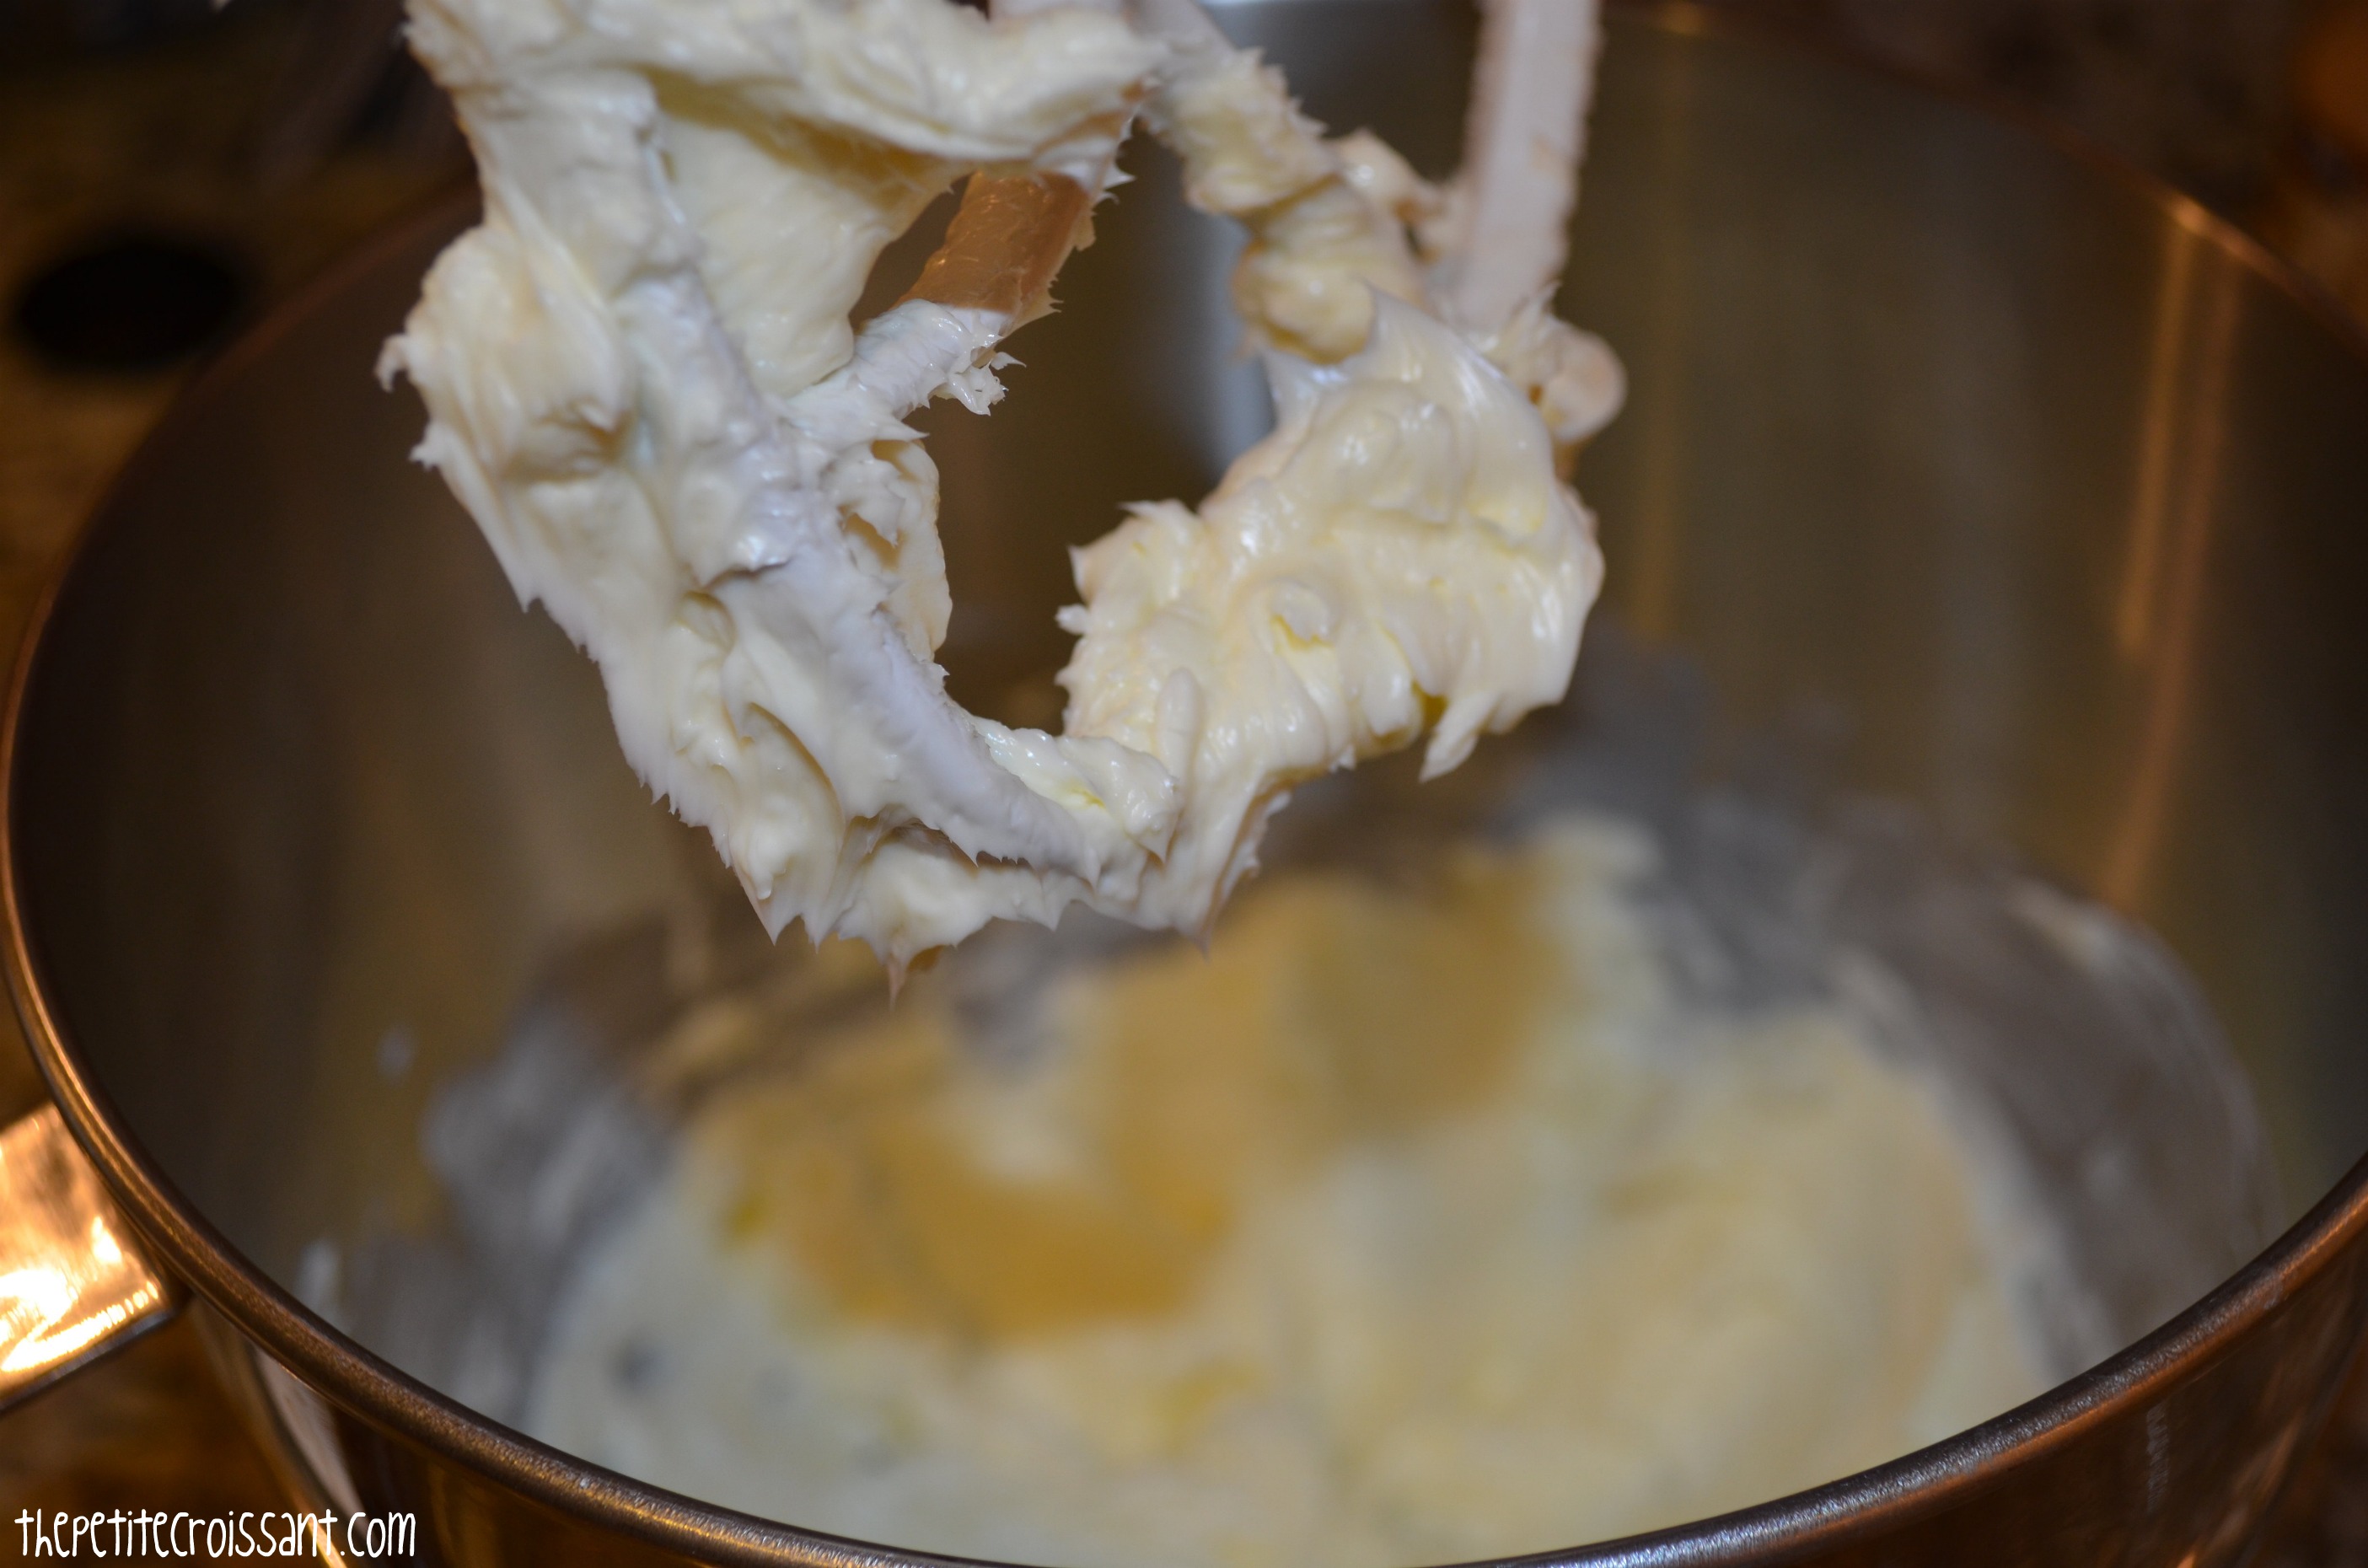
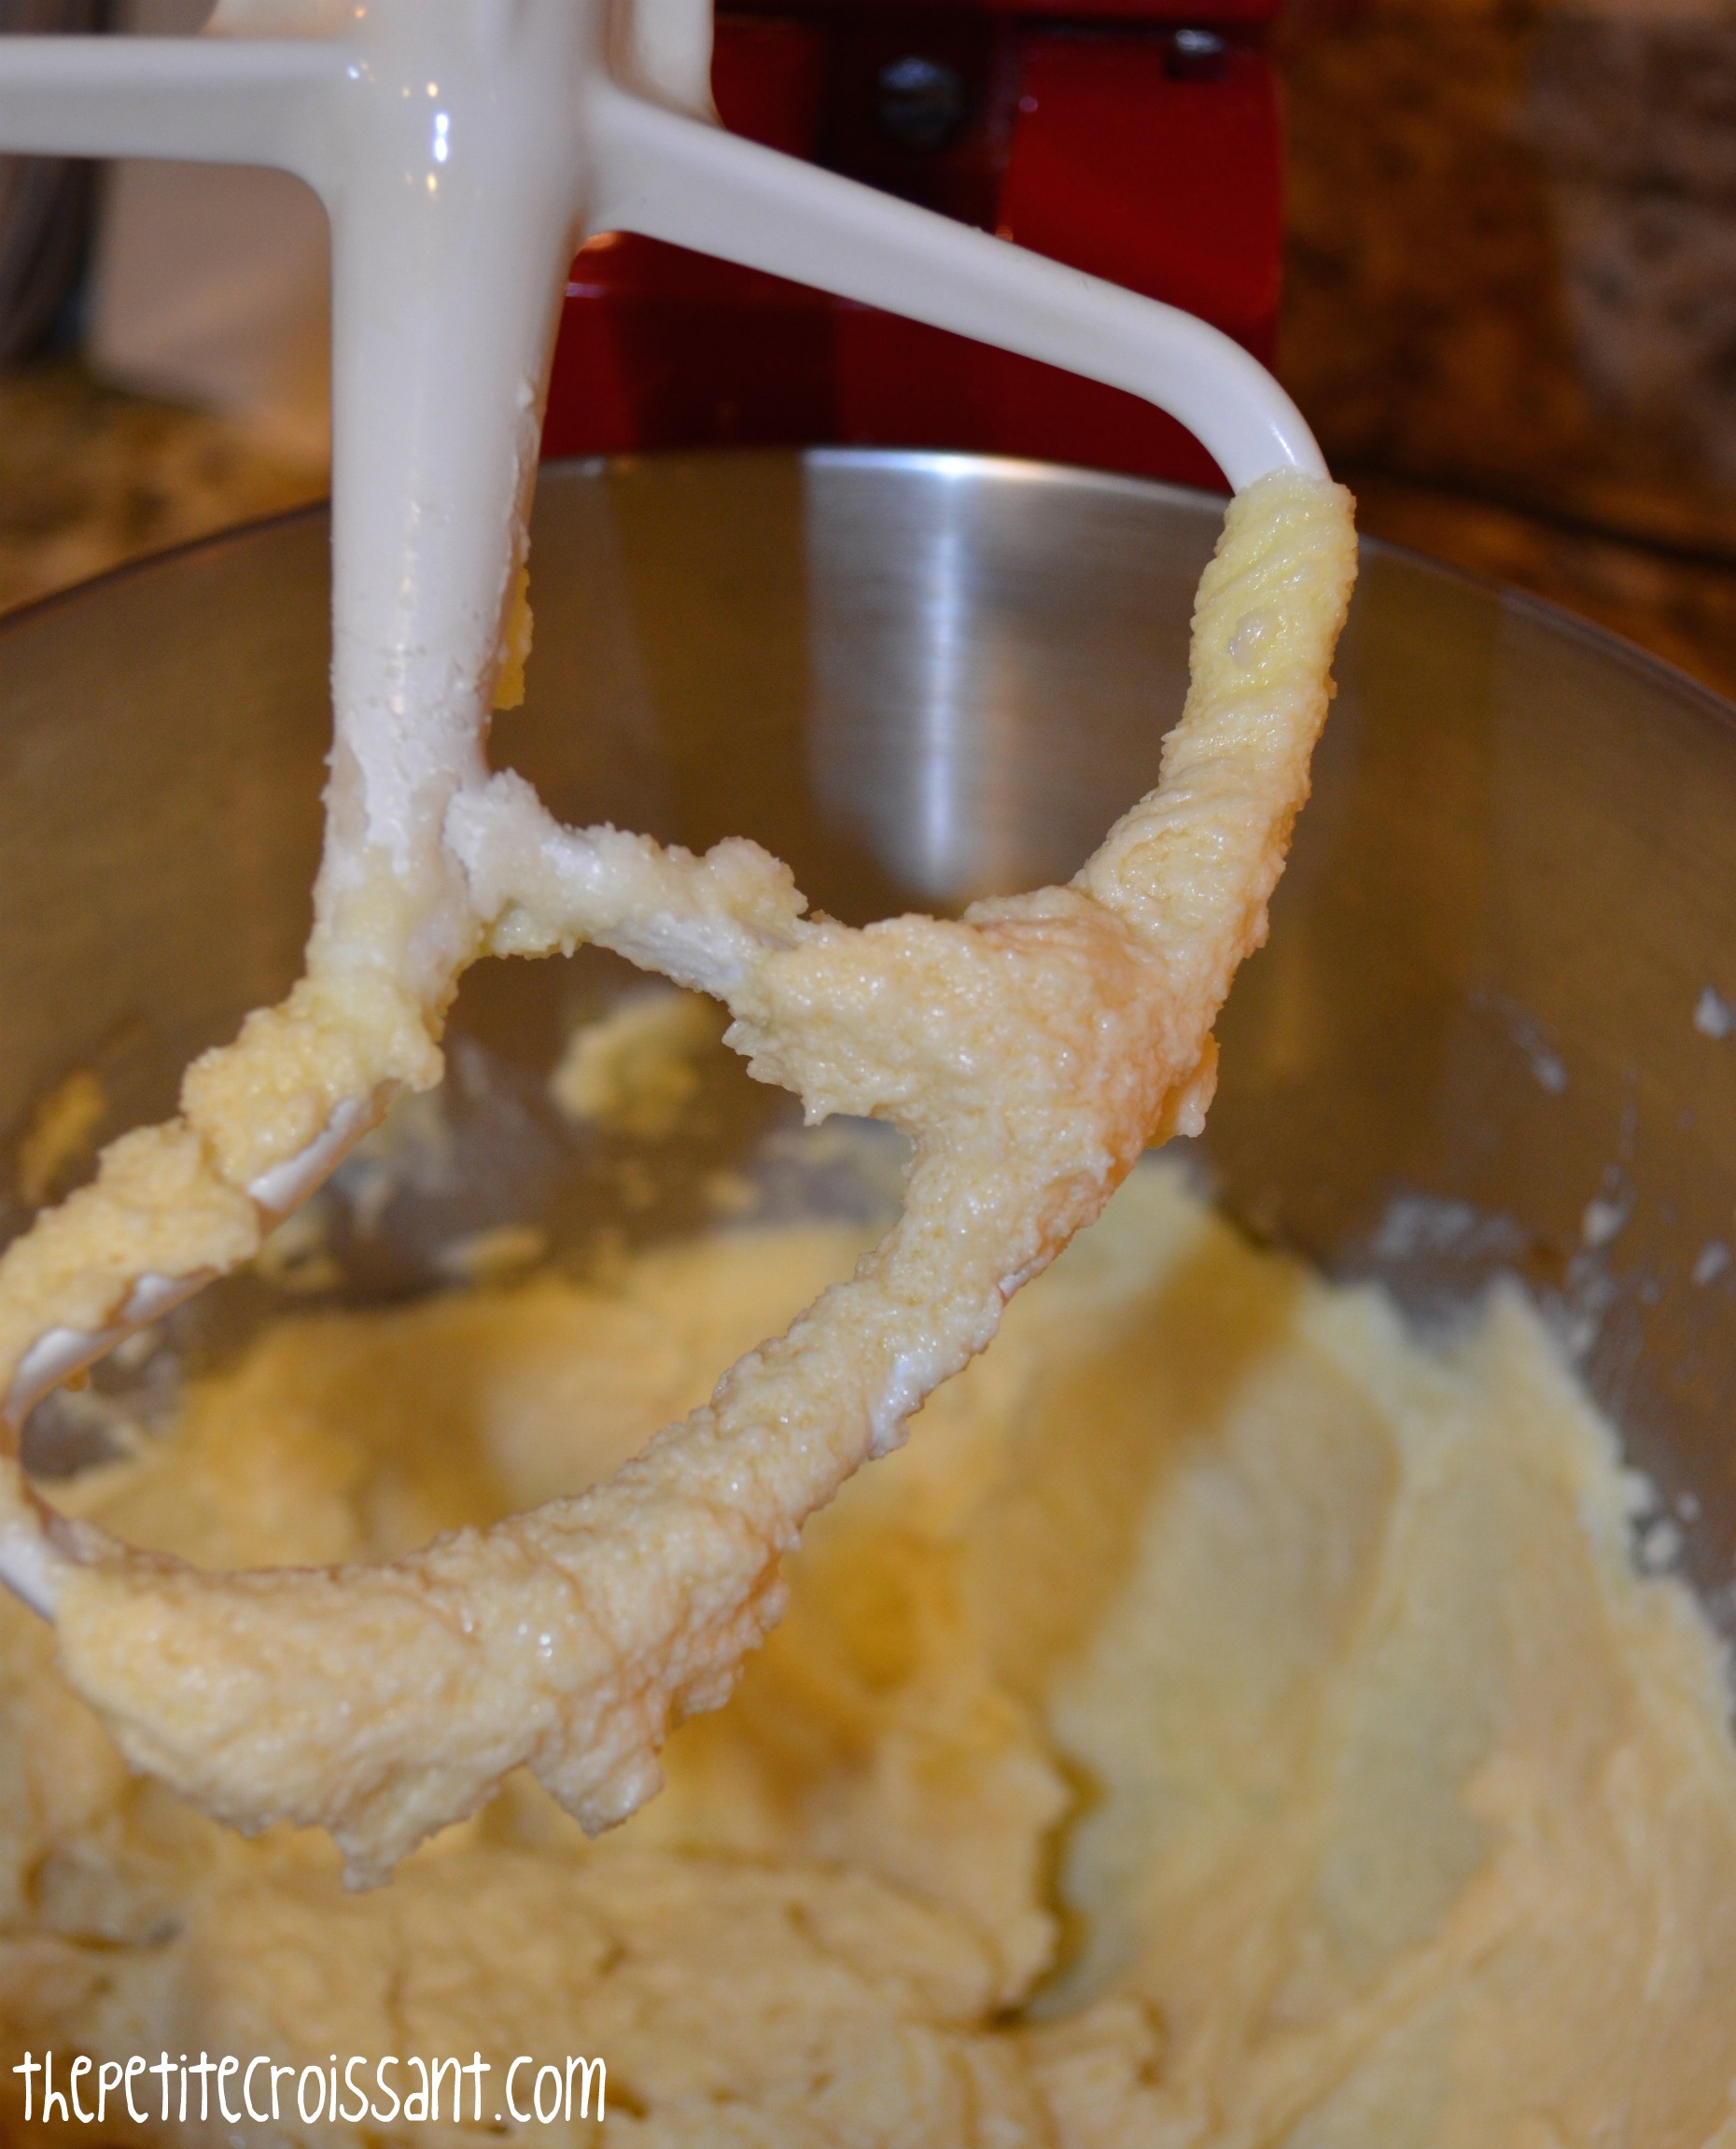
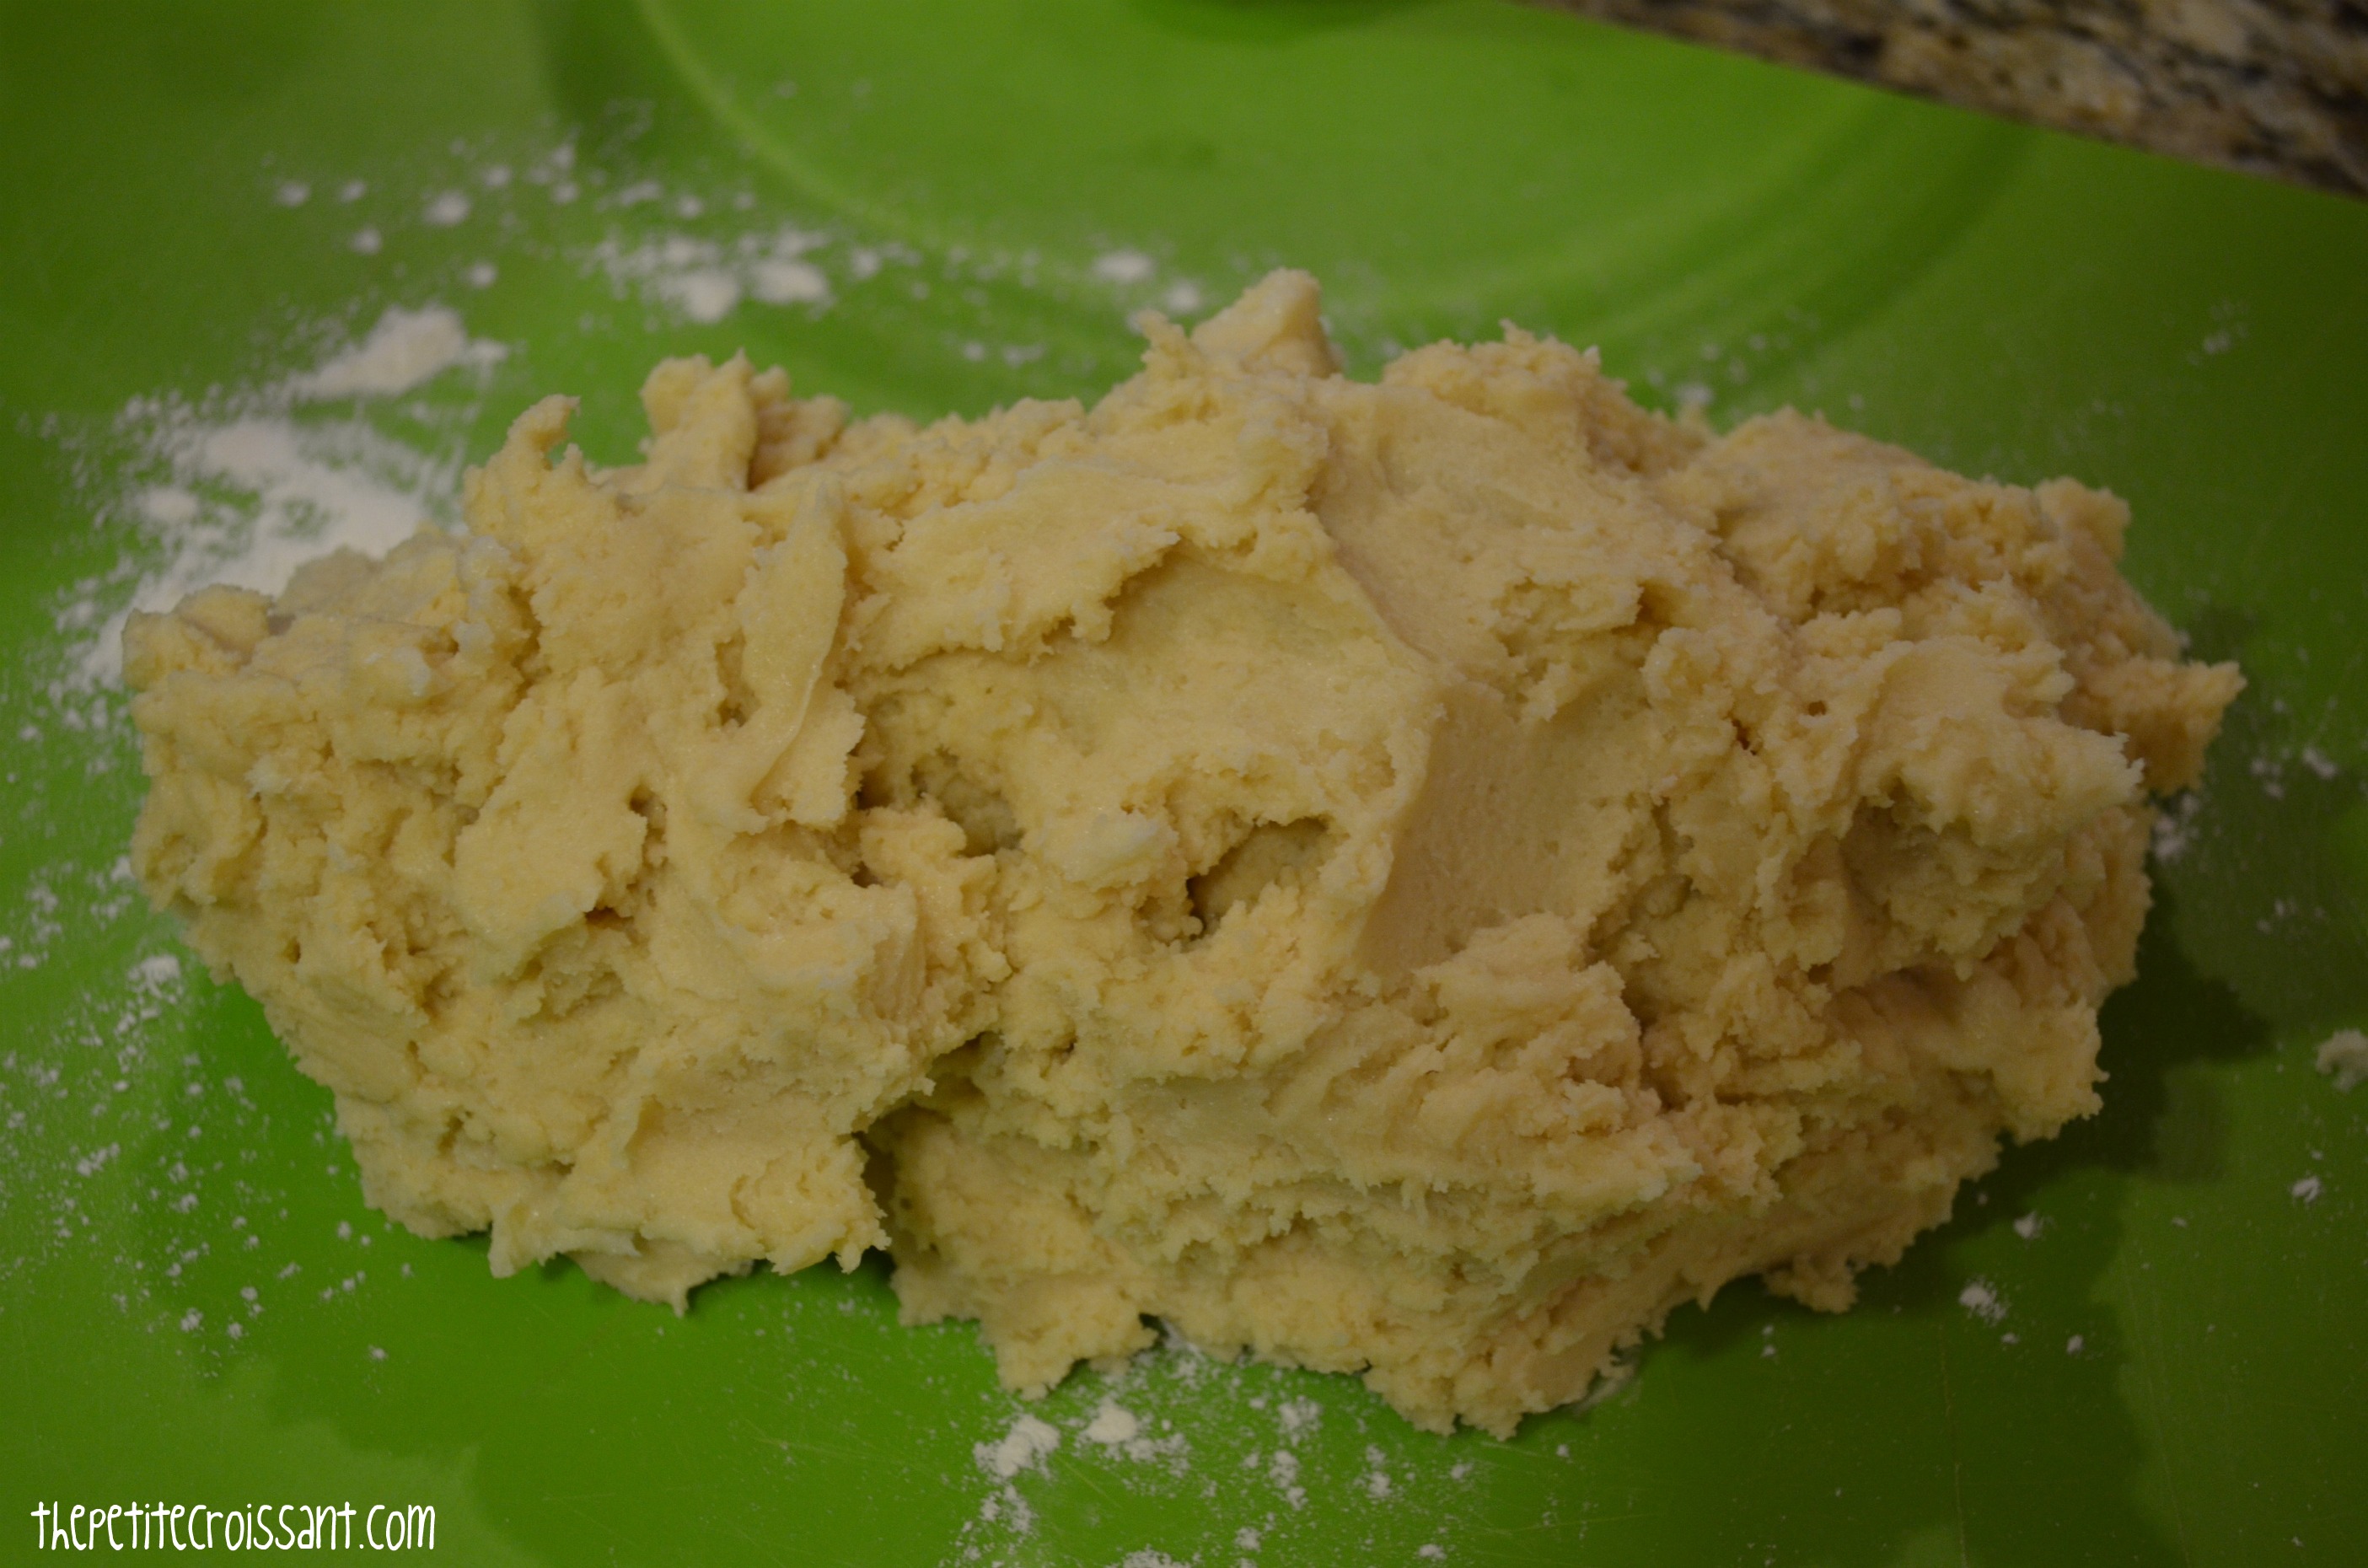
1. In an electric mixer fitted with the paddle attachment, beat the butter until smooth. Add the sugar and beat until fluffy. Add the eggs and vanilla. Scrape down the sides. Add the flour, baking powder, and salt. Mix and scrape down the sides again.
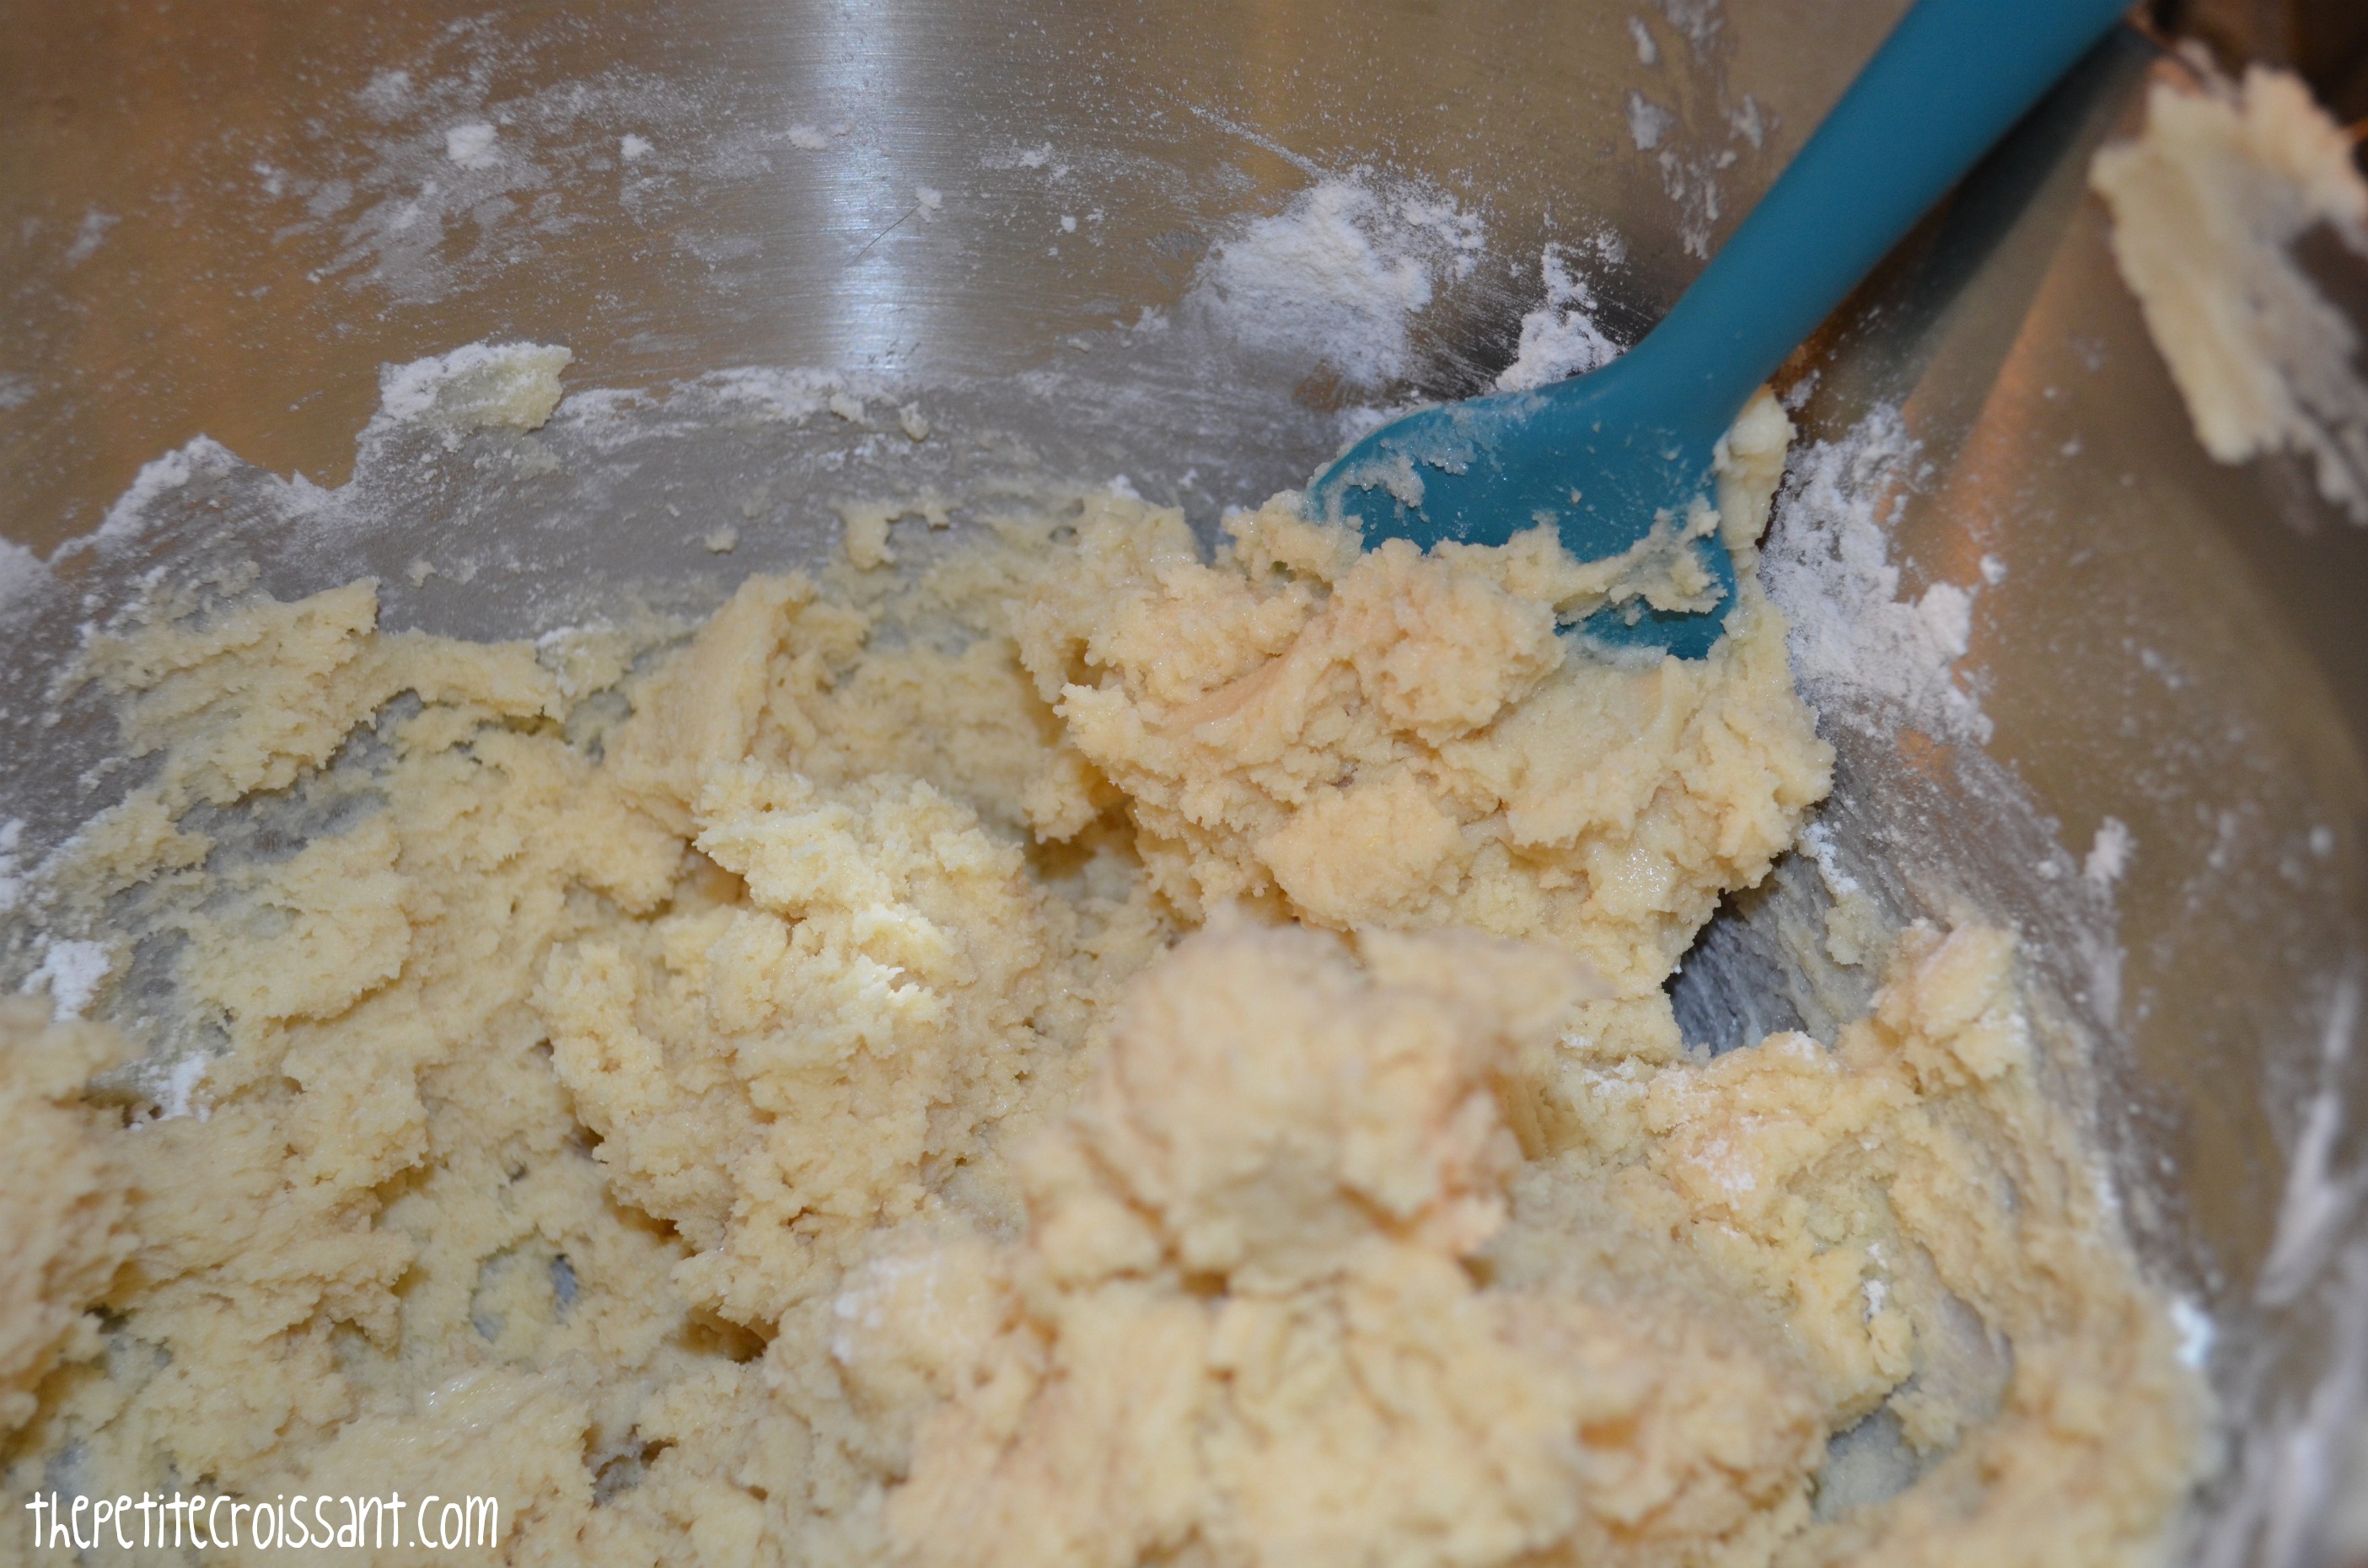
2. Remove the dough and place it on a cutting board dusted with flour. Divide the dough into three equal pieces. Take one of the sections and flatten it into a square. Wrap it in plastic wrap and place it in the fridge.

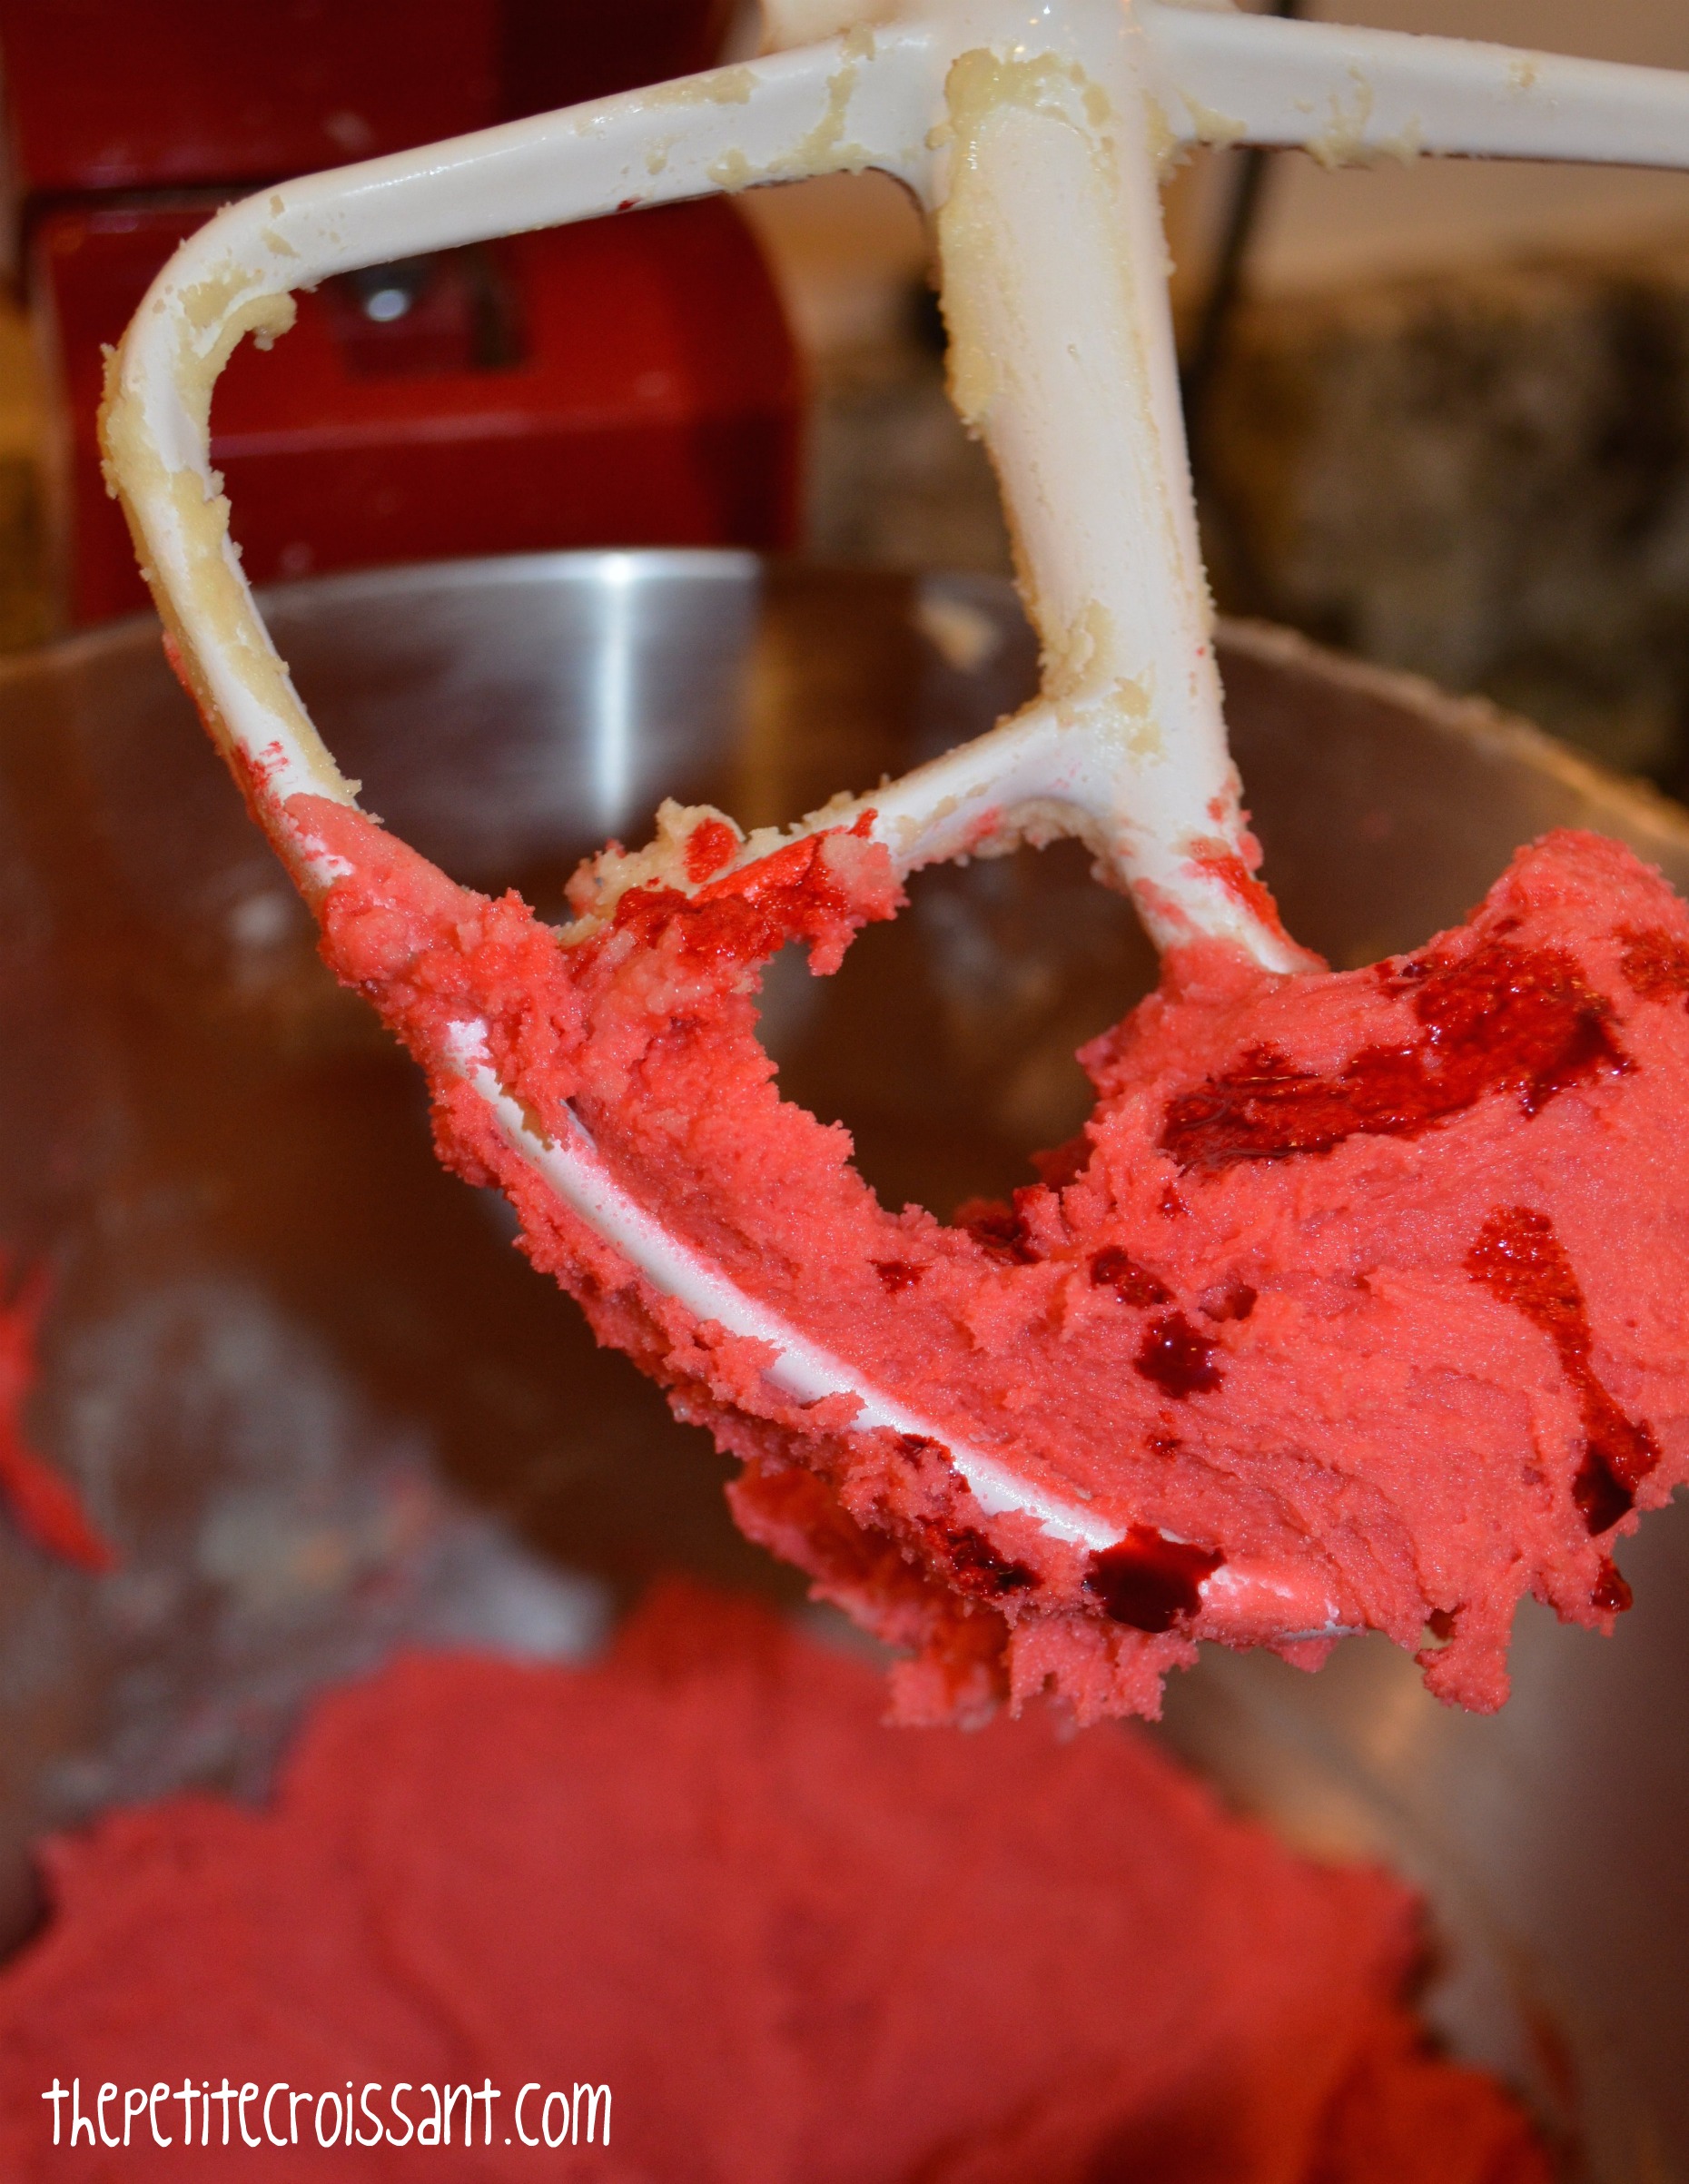
2. Place the second section of dough in the mixer and with the paddle moving, add red food coloring. Add more than you think to achieve the right shade of red. Once done, flatten the dough and wrap it in plastic wrap. Add it to the fridge.
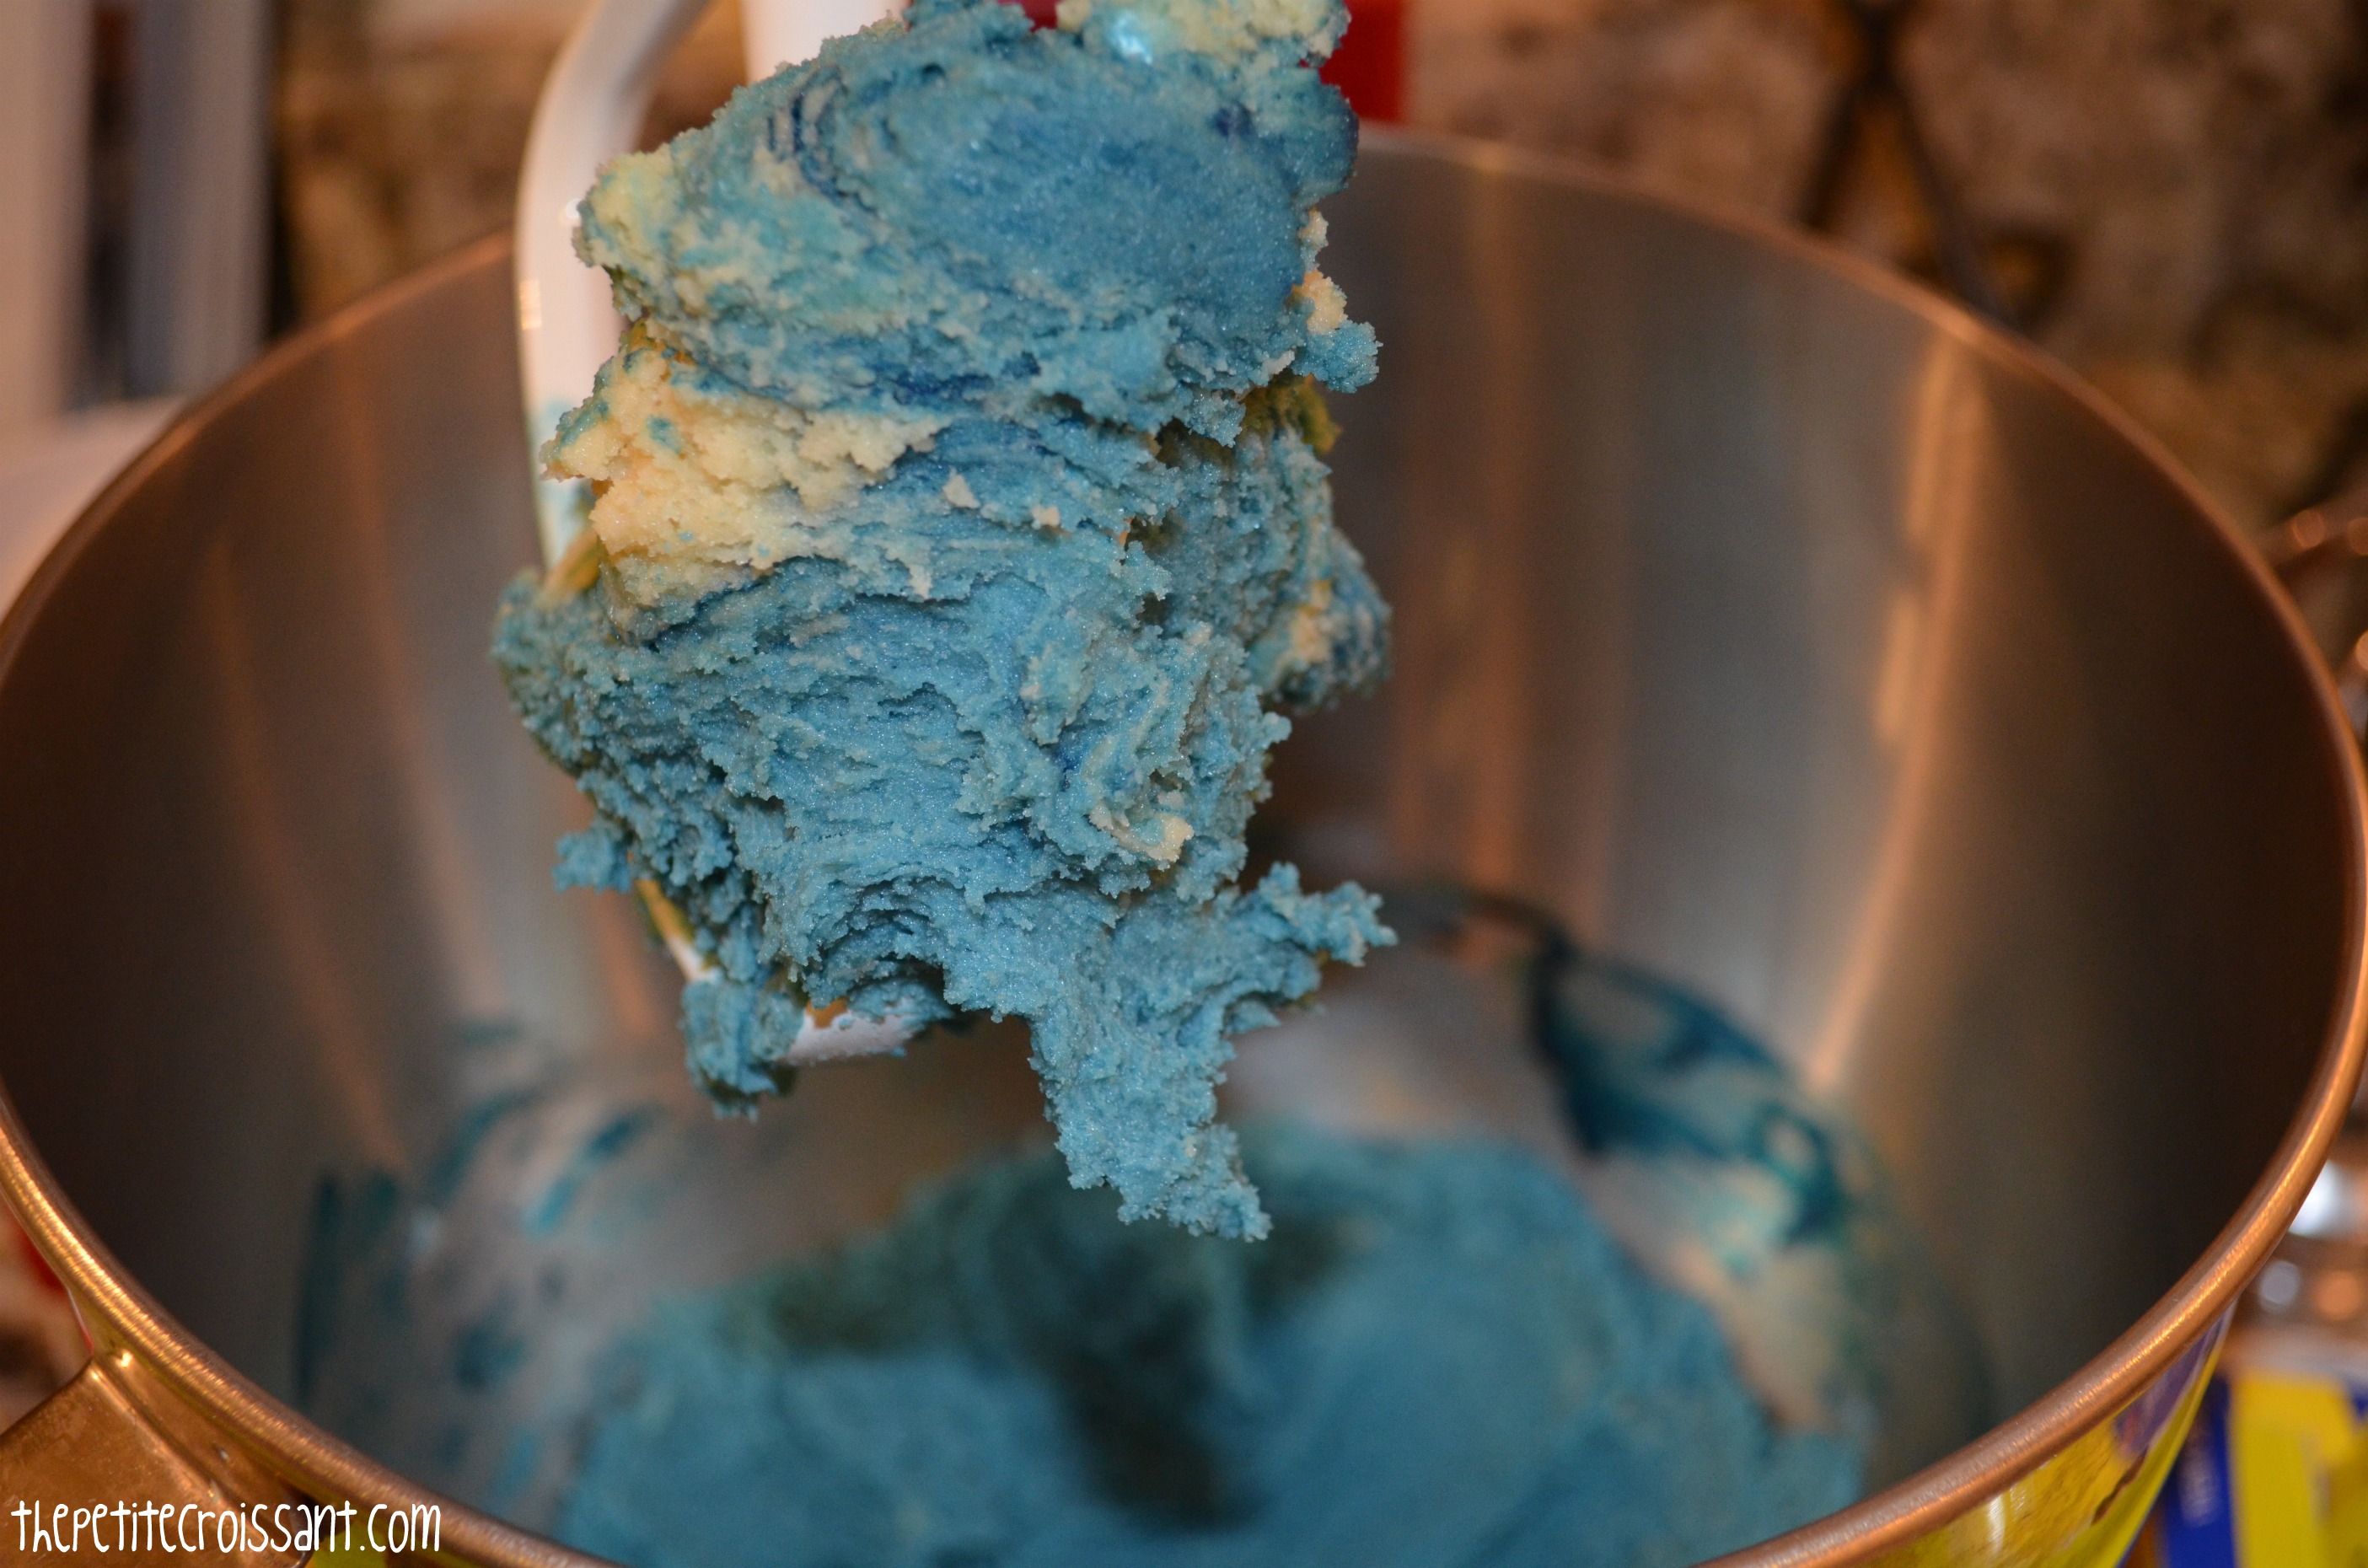
3. Place the last section of dough in the mixer (after cleaning it out) and add blue food coloring while the paddle is moving. Mix until incorporated, and then flatten the dough, wrap with plastic wrap and add it to the fridge.
4. Now wait 30 minutes while the dough hardens.
5. Once the dough has hardened, remove all three colors, and cut each in half.

6. Now, starting with one of the white pieces (place the other pieces in the fridge while working so they don’t warm up), place the dough between two pieces of wax paper, and roll the dough out into a thin rectangle. Now repeat with one of the blue pieces and then one of the red pieces. Make sure the pieces of dough are roughly the same size.

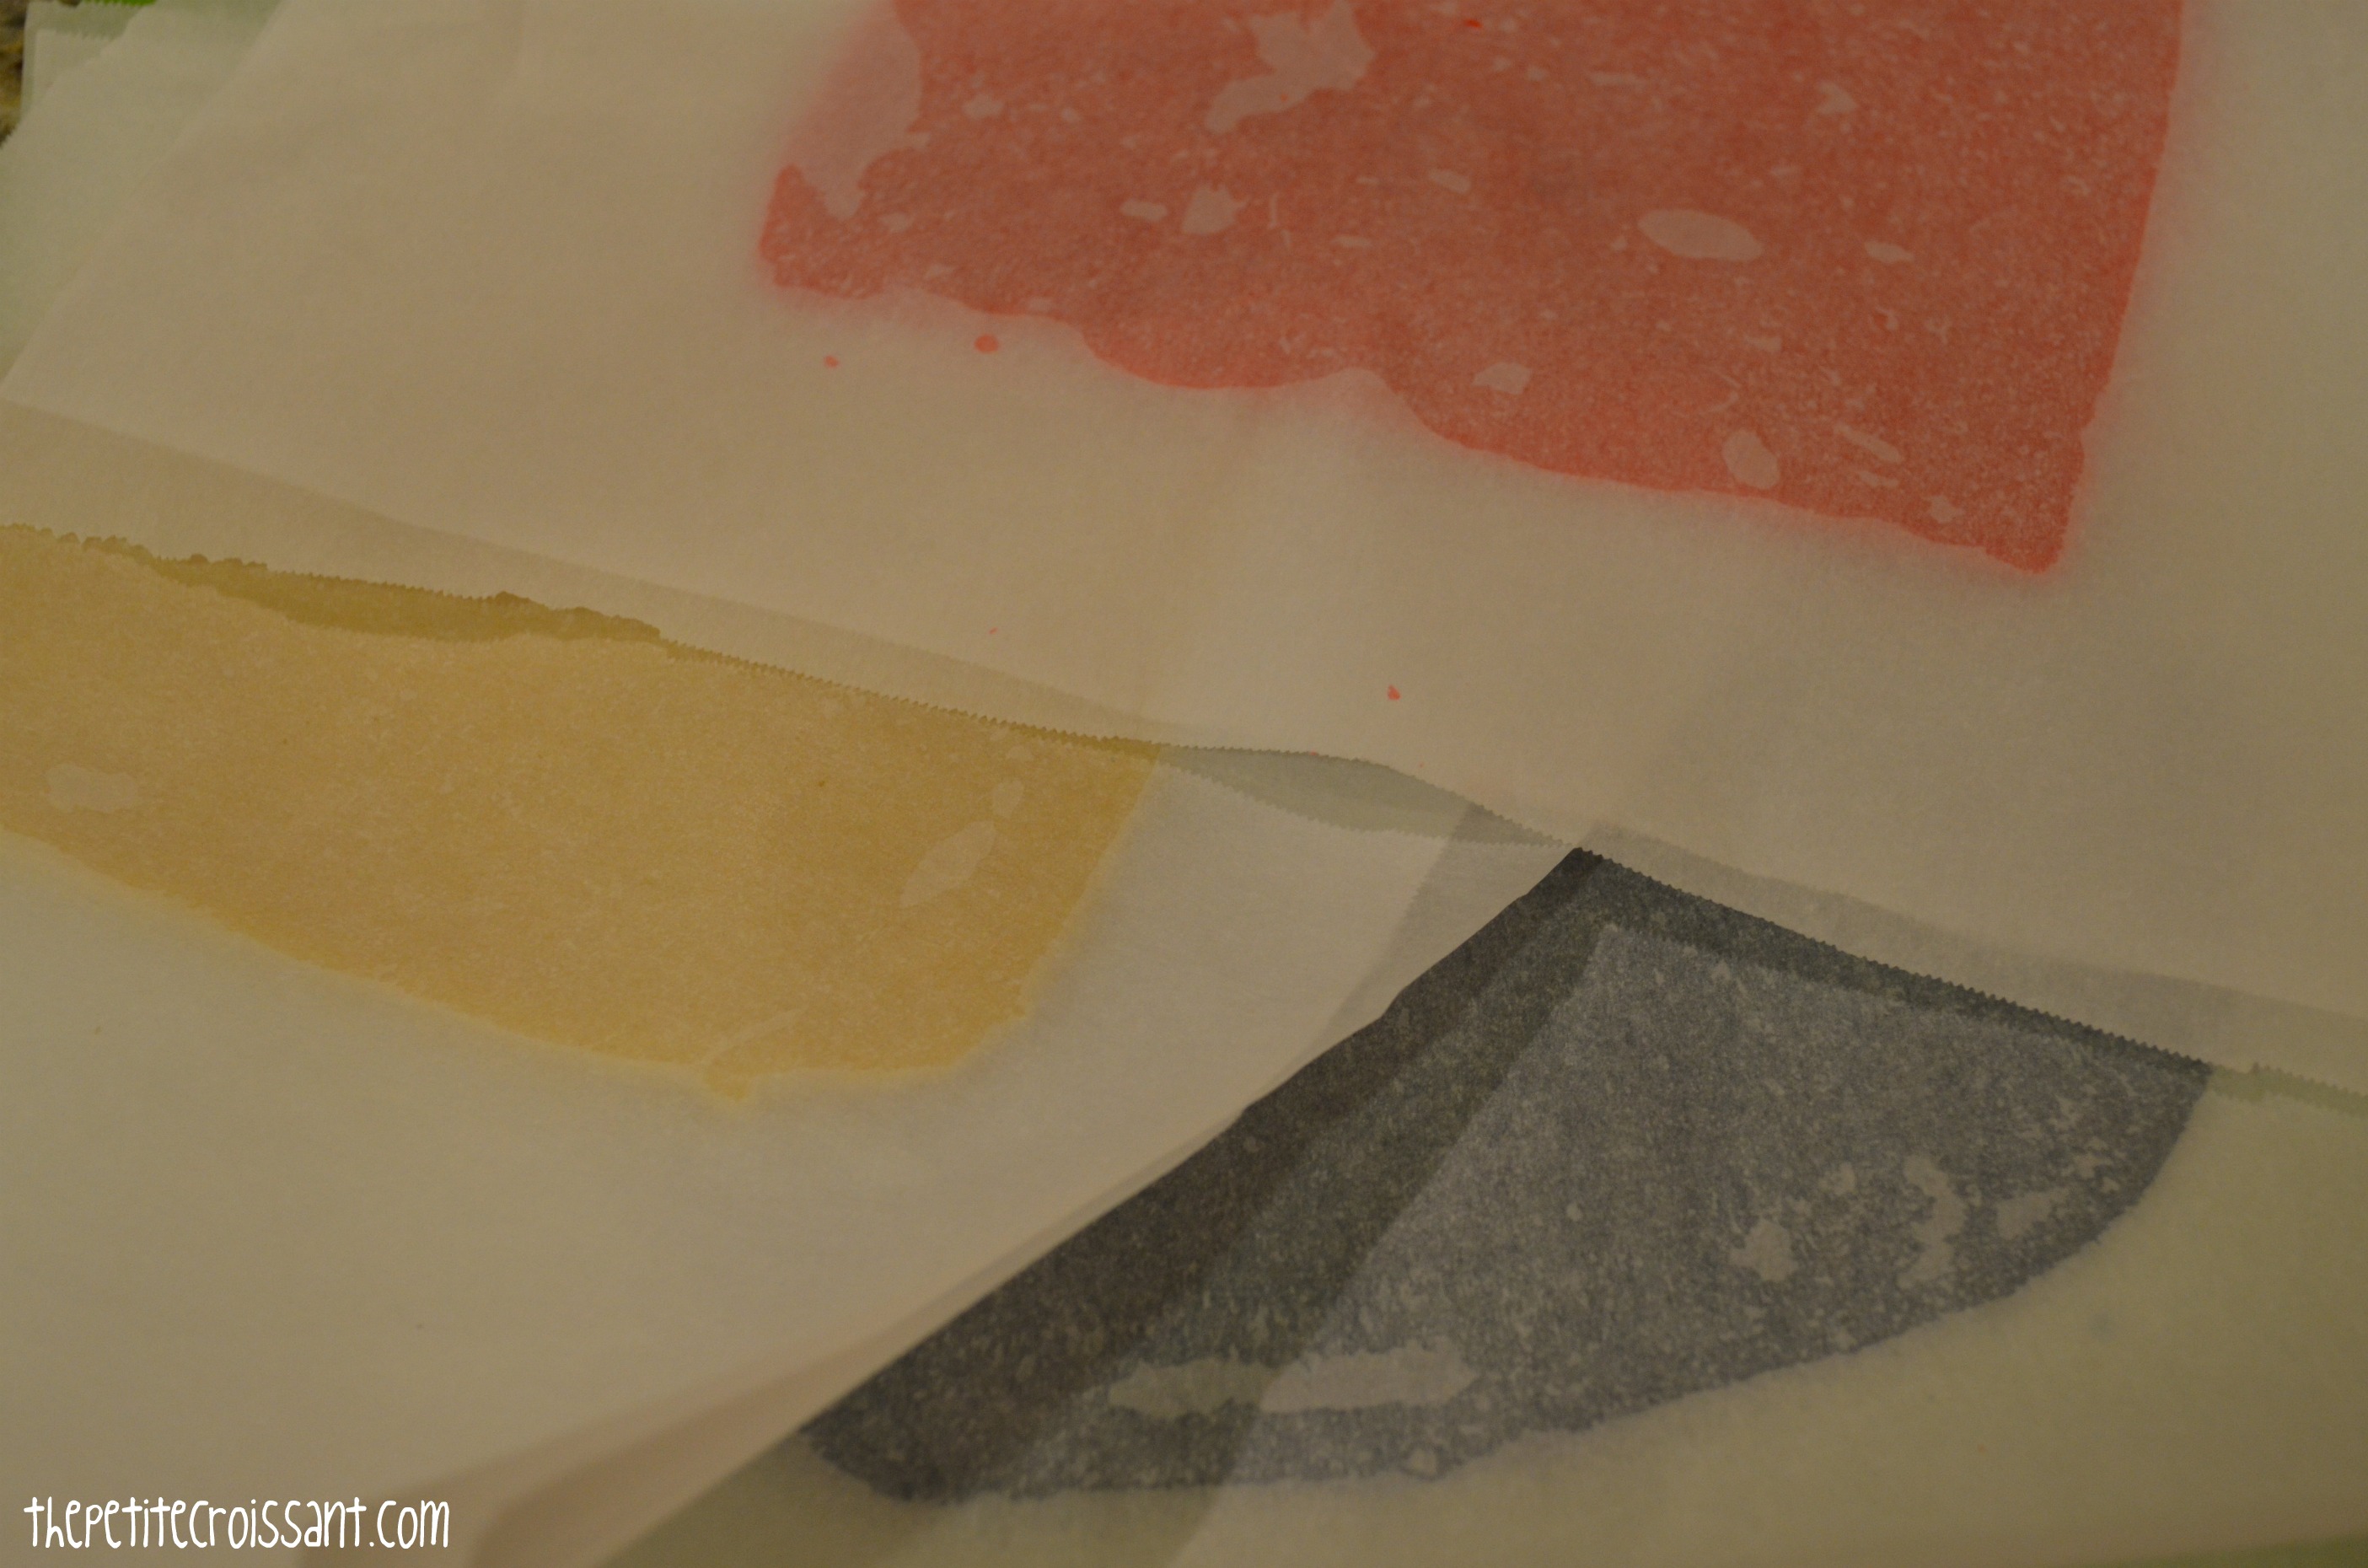
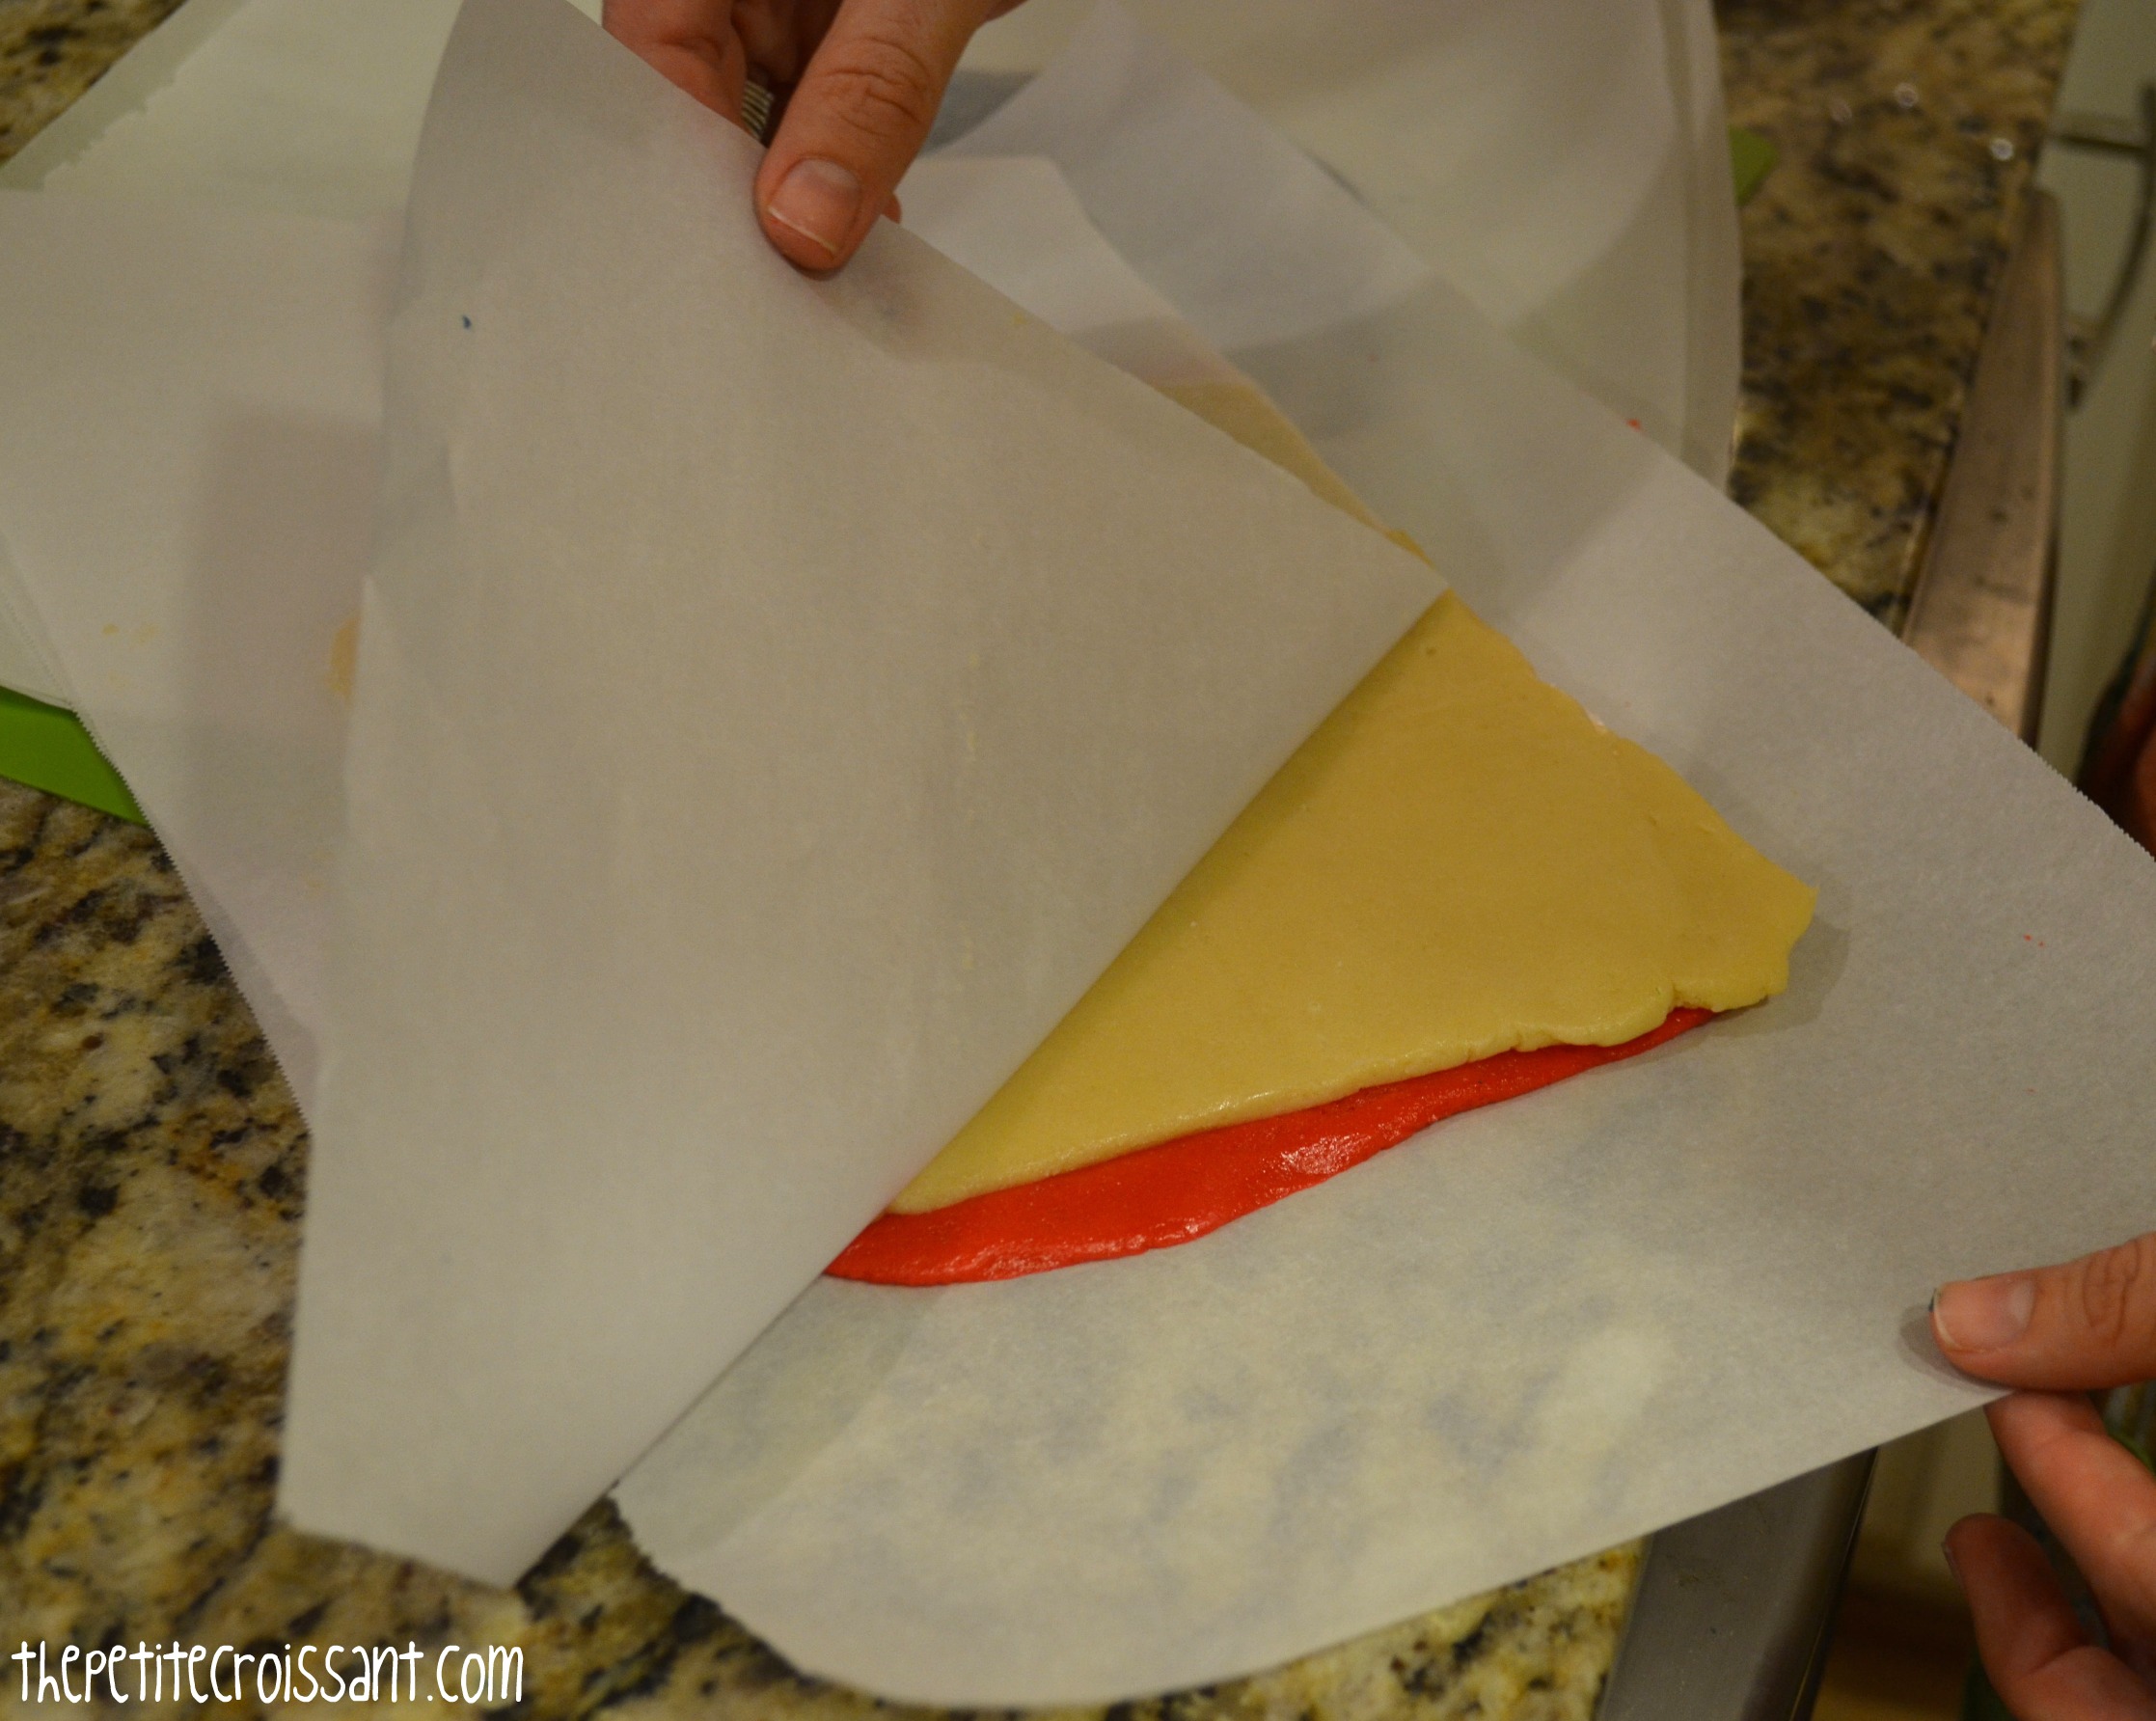
7. Now you’re going to place the pieces together. You want white in the middle, so start by taking a piece of wax paper off the red dough and one piece of wax paper off the white dough. Place them together. Now take off the other piece of wax paper from the white dough, and lay the blue dough on top. Before removing the rest of the wax paper, roll the pieces together with a rolling pin.


8. Now take off the last pieces of wax paper, and put the dough on your floured cutting board. Gently using your hands, roll the dough up into a tight log.


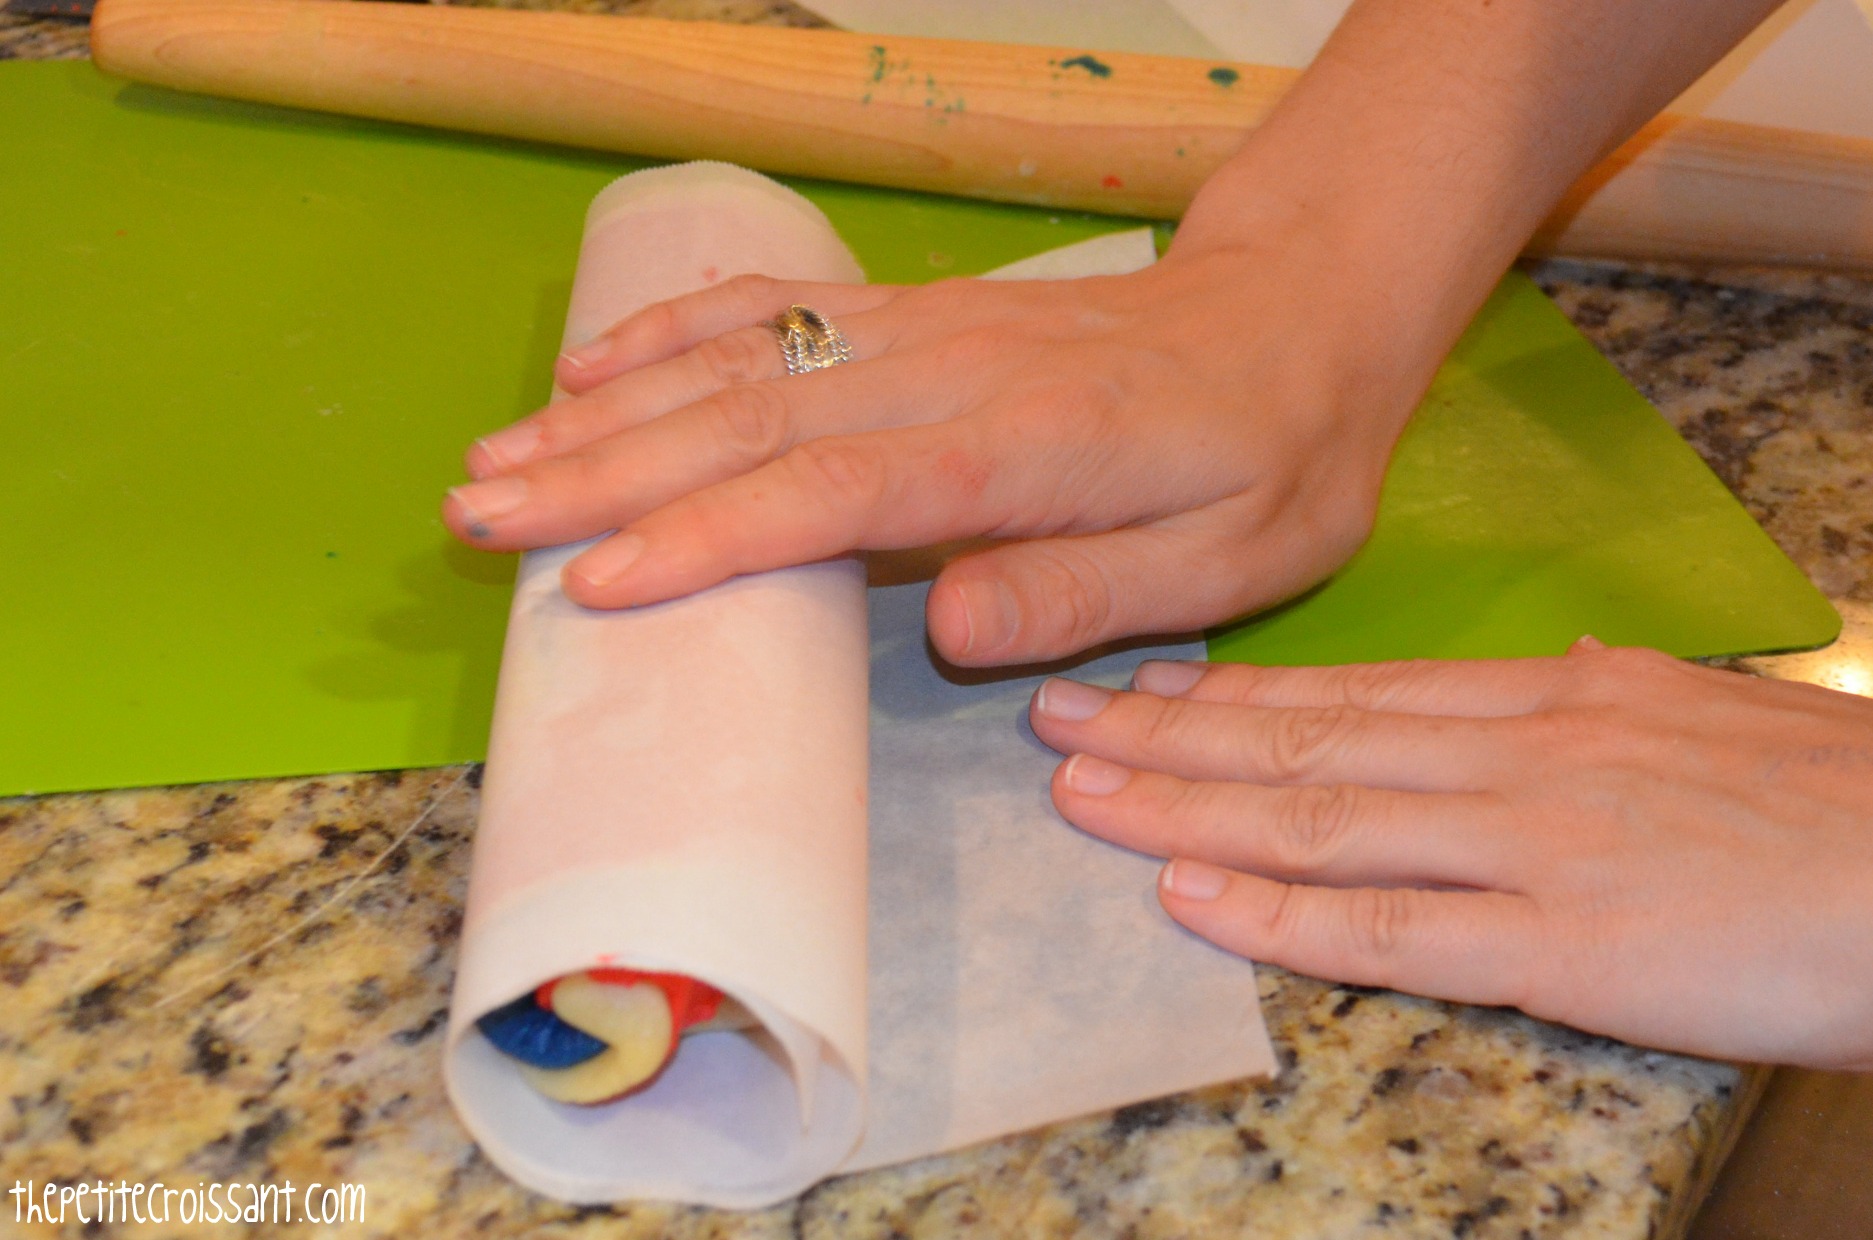
9. Repeat with the other three pieces of dough.
10. Wrap both logs back in wax paper and then place in a ziplock bag. Place in the fridge overnight (or at least for 5 hours). At some point during the time the dough is in the fridge, you’ll want to take it out and roll it again to make sure it doesn’t end up with a flat side. Alternatively, you can stand it up right in your fridge.
11. When ready to bake the cookies, preheat the oven to 350 degrees. Line two baking sheets with parchment paper. Slice the dough into really thin pieces and place the dough on cookie sheets. Bake for 9-11 minutes. Let the cookies cool on a wire rack.